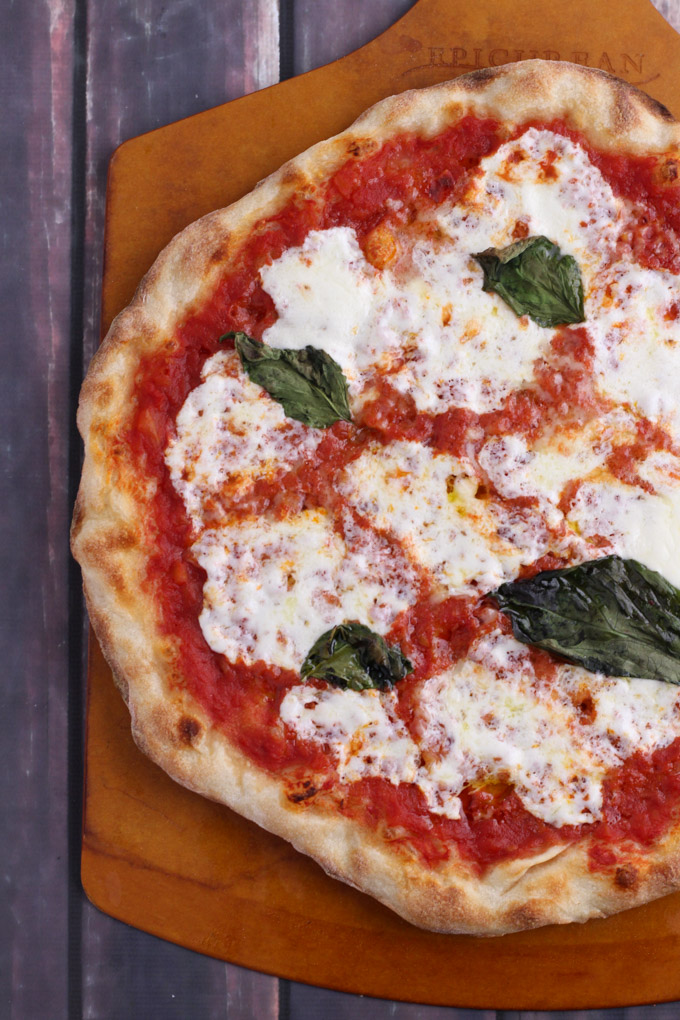
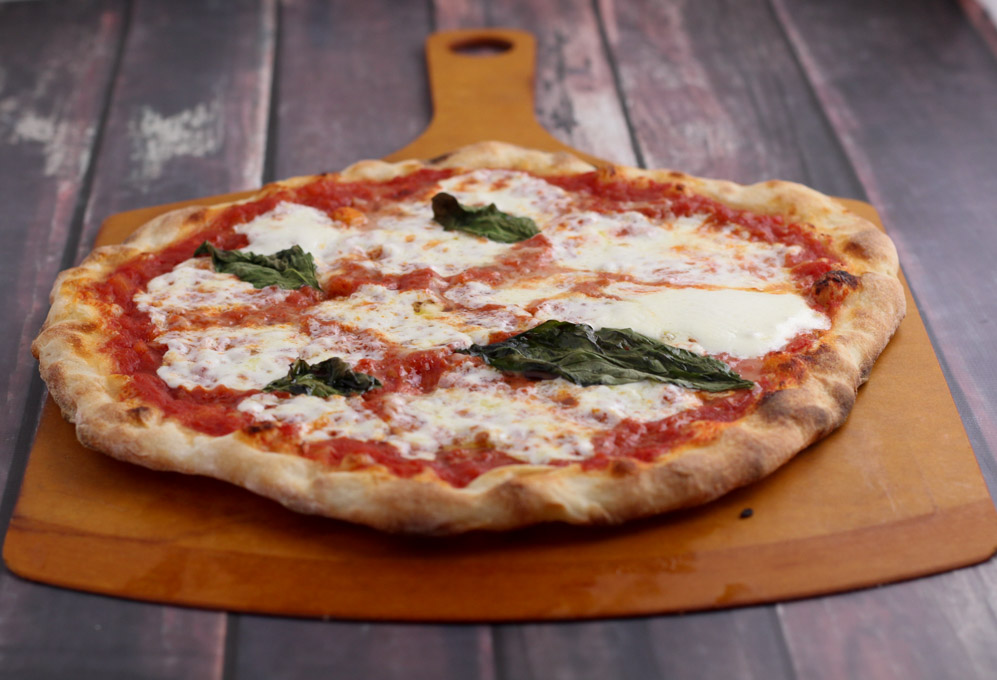
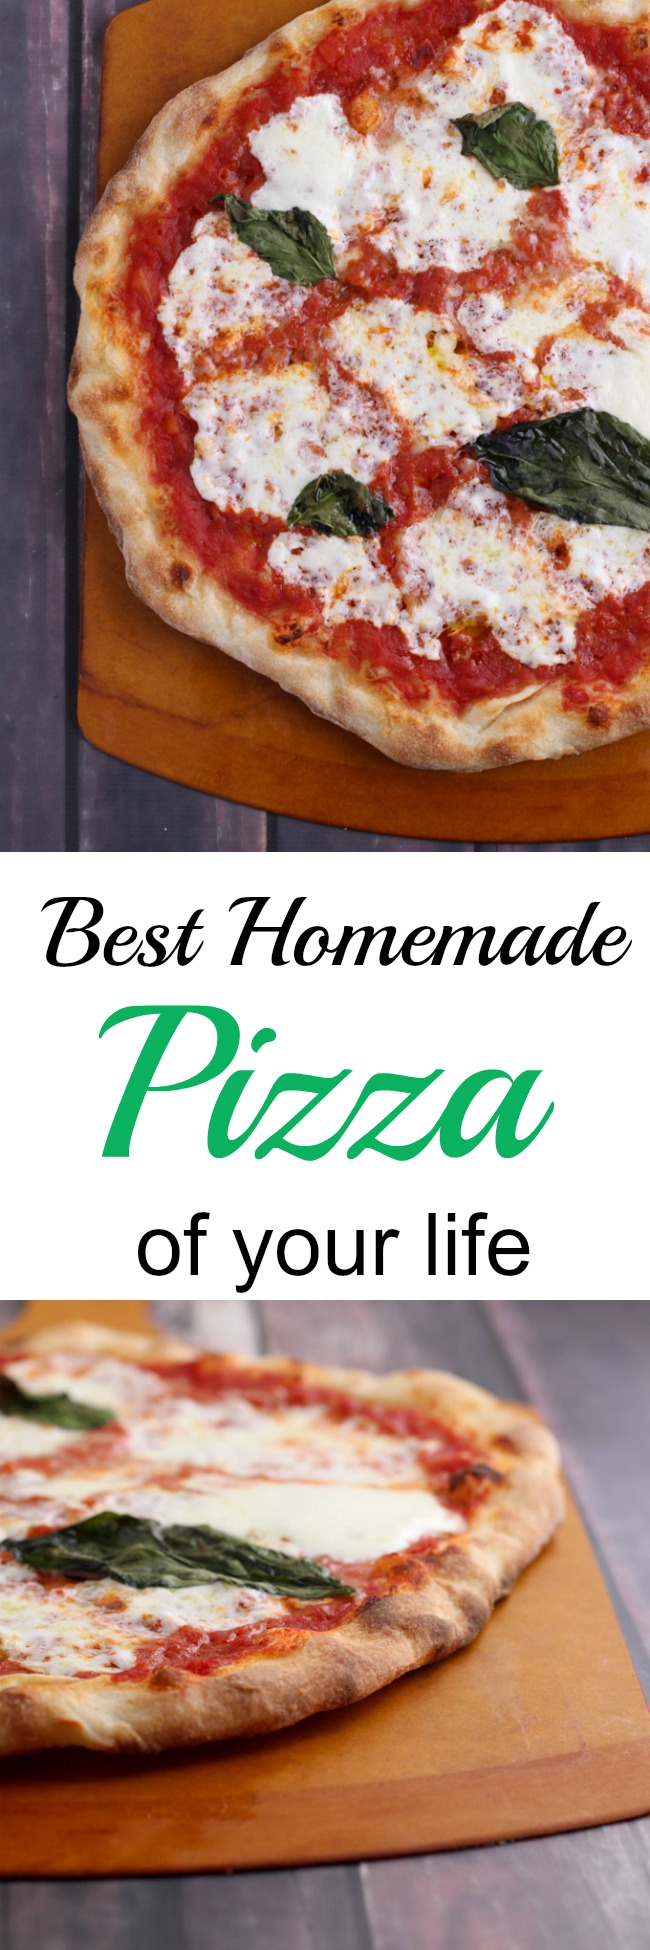
A few months ago Ryan and I had a friend, Ryan, move to town. Since then, we’ve been creating a weekend tradition of making homemade pizza. It’s definitely a weekend event as it takes some time, some gear, and occasionally an all-hands on deck approach. But in the end, it’s totally worth it. And I hope, you’ll consider giving it a go, because then, you too can have the best homemade pizza of your life.
For awhile, we were satisfied with homemade pizza using pre-made dough. Then I dabbled occasionally in various pizza dough recipes, that were better, but not life changing. Certainly, not the best homemade pizza of your life. But then everything change with the addition of Ken Forkish’s The Elements of Pizza to our cookbook collection.
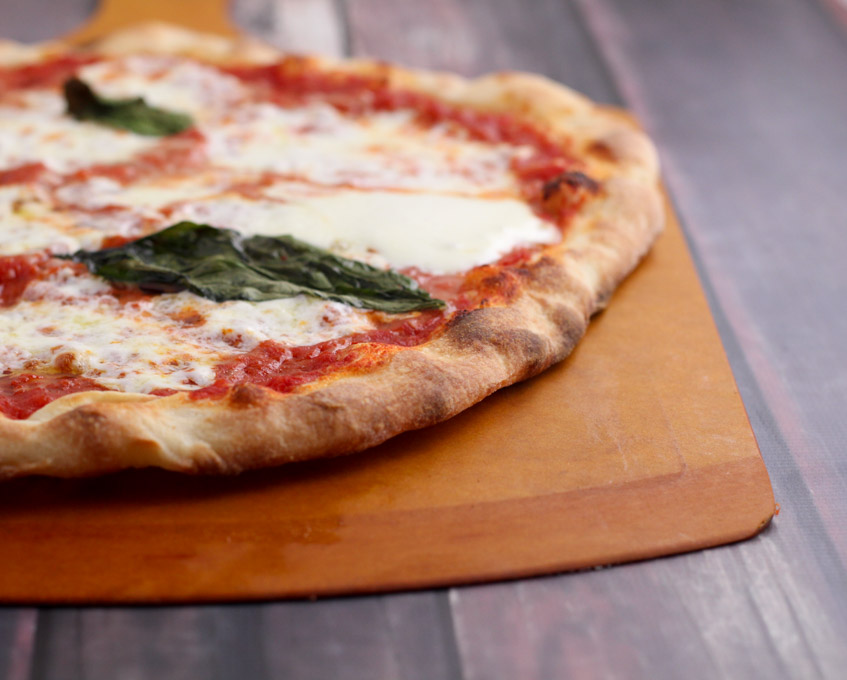
The dough recipes in his book are so flavorful! When baked they have a crispy exterior crust just like you get from professional kitchens. And the inside, just slightly soft and bready. It’s the perfect combinations of textures. Not so hard is breaks into shards, and not so doughy it’s like eating a bread stick. The pizza comes out beautiful and delicious. I am not exaggerating when I say, the quality rivals many restaurants.
The book has many dough recipes, but my favorite is the 24-hour dough recipe. That’s the one I’ll share today. I like it because I think that amount of time gives the yeast plenty of time to slowly develop flavor. As well, I find it the least invasive to my day because the dough spends most of its time in the fridge (that means less time kneading/turning/working the dough throughout the day). Start it on Saturday and then end your weekend with a great Sunday dinner. It’s also great because at the end you’ll have 5 personal sized pizzas.
What I’ve really loved about making this pizza, is that the ingredients are incredibly straight forward. The dough is flour (“00” Flour, a finely ground flour is great if you can find it), water, salt, and yeast. And the sauce is canned tomatoes and salt. And the toppings are whatever you want. It’s inexpensive, easy, and your pizzas are easily customized.
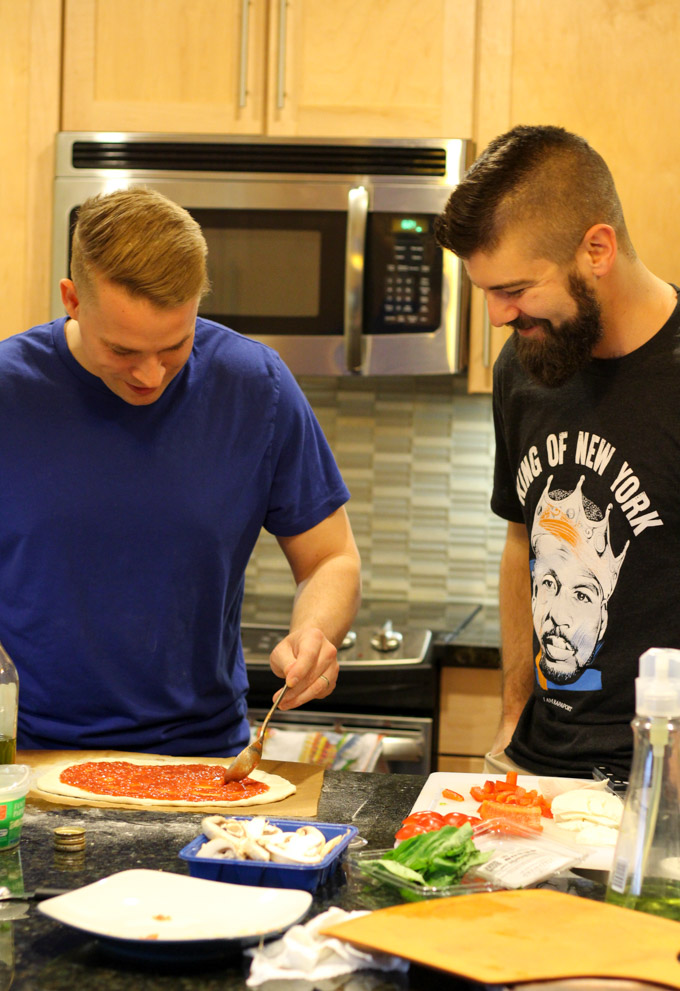
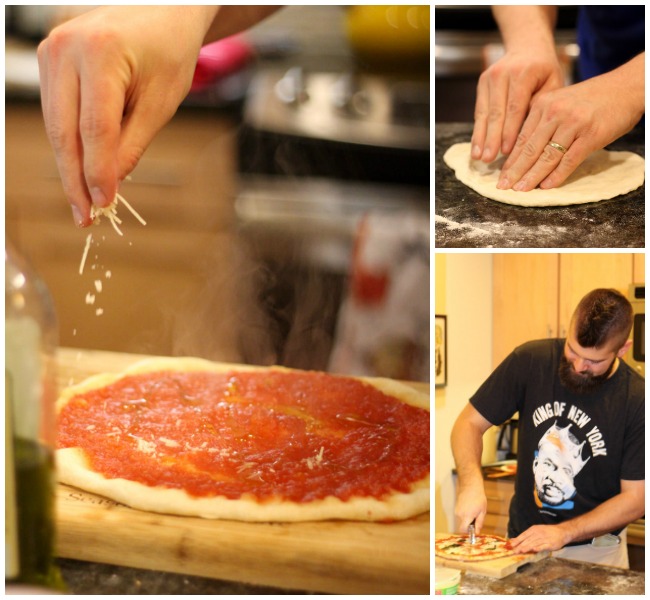
My favorite part of making pizza though is that we’ve made it a communal activity. The kitchen becomes a hub of activity and conversation for me and the Ryans. We shape the dough, we chat, prep the toppings, we snack on the toppings, and we hang out. No one person had to be responsible for everything. And then every so often, we all have to frantically run to waft cool air towards the fire alarm.
Ok so the dirty secret is this: we set off the fire alarm every single time. Not for the whole duration of cooking, but it always happens at least once. Basically, the oven is set at such a high temperature any spill causes lots of heat and smoke. The shrill sound of the alarm starts to blare and we run to the couch to grab pillows and frantically wave at the fire alarms. We think this rustic, homey practice will give our future restaurant a quirky and charming quality not provided by other establishments. That would work, right? You’d eat there?
The other thing is, we’ve found that doing pizza well requires a fair bit of kit. It can be done without, but it’s so much easier with. Here’s a list of what I think are must-haves (and alternatives if you don’t have it):
- Pizza Steel
or Pizza Stone. The book recommends a steel, so that’s what I have. If you don’t want to invest you can use a baking sheet turned over, but make sure it’s a good one that doesn’t buckle a lot. If it buckles your pie will be cooking at an angle and that can lead to drippage.
- Pizza Peel
. It helps get the pizza in and out of the oven. Ryan and I have had success with a cutting board and some tongs, but a peel is a lot easier because it has a thin sloped edge for sliding the pizza.
- Parchment paper. There’s no substitute, it helps get your pizza easily off the peel and onto the stone so that it keeps its shape.
- Pizza Cutter
. A knife works, but a cutter gives a smoother cut. And if you’re going to invest in all the other gear why not go all out?
- Digital Scale
. This is generally important for the kitchen, and especially so when it comes to baking. Measuring by weight is consistent every time. I’ve also included volume measurements, but I do think going with grams is best.
- Kitchen Thermometer. Again, generally valuable in the kitchen. This is important for the water at the beginning of the recipe. You could use a thermometer for people if you needed to.
- Ken Forkish’s The Elements of Pizza
. It’s just a crazy good book with helpful images to ensure pizza success.
Let me end by saying, this pizza is totally worth it. It is the best homemade pizza of my life. As well, it might be one of the best pizzas of my life, end of sentence. Sure it takes a little work and some gear, but it’s so good. And so fun to do with people you care about. Consider making it yourself, and if you do share photos with me on Instagram and tag me @cookingismessy.
Adapted slightly from Ken Forkish’s book, The Elements of Pizza.
 Messy level: I’m going to give this a five. I don’t want to because I feel that creates yet another barrier to making it. And I want you to make this recipe. It’s so good. I can’t say that enough. But kneading dough, flouring the counter, plus chopping toppings, using a blender, and potential spills in a hot oven all lead to a five spoon.
- 350 grams/ 1½ cups water at 90°-95°F (32°-35°C)
- 13 grams/ 2½ teaspoons salt
- 1.5 grams/ ¾ of ½ teaspoon instant dried yeast
- 500 grams/ scant 4 cups 00 flour (or all-purpose)
- 1 28oz can, whole peeled tomatoes
- 8 grams/ 1½ teaspoons salt
- olive oil
- 1 large ball of mozzarella cheese, cut into thin slices
- shredded mozzarella (optional)
- shredded Parmesan (optional)
- 3-4 basil leaves per pizza (optional)
- other cheese and toppings of your choice (optional)
- Measure the water and put it in a large bowl or tub. Notes: I use a tub that would usually store cereal. Also, if your tap gets pretty hot you should be able to get this temperature water without use of the stove or microwave.
- Add the salt to the water. Swish it around until it is dissolved.
- Add the yeast and let it sit there for a minute to moisten. Then swish it around until it's dissolved.
- Now add the flour. Mix it in by hand until it starts to come together. Then alternate folding the dough over on itself and pinching the dough apart by squeezing it between your index and middle finger. Do this for 30 seconds to 1 minute or until it is a unified mass of dough. Check the temperature, it should be about 80°F (27°C).
- Let the dough rest for 20 minutes in the bowl or tub.
- Flour your counter and knead the dough for 1 minute until the dough has a smooth skin. Note: Need help kneading? Check this tutorial out.
- Lightly oil your bowl or tub, then place the dough ball seam side down. Cover tightly. Then let it rest for 2 hours at room temperature.
- Flour your counter again. Gently ease the dough out of the tub and onto the work surface. Use your scale to help you cut the dough into 5 equal pieces.
- Shape each dough ball into a tight round. To do this, take a piece of dough and stretch ⅓ of it sideways until starts to resits, then fold it back on itself into the middle. Continue doing this around the whole piece of dough until it forms a round shape. Then, flip the ball over seam side down. Cup your hands over the dough to create a dome, with your pinkie fingers pressed against the counter pull the dough 4-5 inches across the counter (unfloured) toward you. Do this 1-2 more times until the dough feels round and tight. Repeat with all five pieces of dough.
- Flour a baking sheet and place your shaped dough onto it. Leave space between for the dough to expand. Flour the tops of the dough then tightly cover with plastic wrap.
- Put the baking sheet into the fridge and let it sit there for 24 hours.
- Remove the pizza dough 1 hour before making the pizza
- After the dough has been out of the refrigerator for 30 minutes place the pizza steel in the oven and preheat it to 550°F (290°C). Let it heat up for 30 minutes.
- Now make the sauce! It's the easiest part. Pour the tomatoes and salt into a blender (or use an immersion blender). Pulse on low until the tomatoes are just blended (there will be a few small chunks). You're done.
- Time to shape the dough! Cut a piece of parchment paper about the size of your peel.
- Flour your counter. Take a dough ball and use your finger tips to punch down the middle and then slowly push the dough towards the outside. Continue this motion, of using your fingertips to press the dough outward. Do it all around the dough leaving about ½ inch of the edge untouched. Then, hold the dough off of the counter with your hands at 10:00 and 2:00. The rest of the dough will hang down vertically, and the weight of it will help stretch the dough. Slide your hands all the way around the edge of the dough until it's reached your desired size, which is about 10".
- Place the stretched dough onto the parchment paper and onto your pizza peel.
- Spoon tomato sauce onto the dough until it's about ½ inch from the edge.
- Use the peel to slide the pizza and parchment into the oven onto the steel. Bake for 4 minutes.
- Remove the pizza from the oven. You should also be able to remove it from the parchment paper if you wish.
- Drizzle the pizza lightly with olive oil. Top with your slices of mozzarella and any other cheeses of your liking (I like Parmesan and Burrata). Add a few slices of basil too. I've also used peppers, pepperoni and other dried meats.
- Use the peel to place the pizza back on the steel. Bake for 2 minutes.
- Switch the oven setting to broil and cook for 1-2 minutes, or until you see a few spots of charring.
- Remove from the oven and let sit for 1 minute.
- Use your pizza cutter to slice the pizza. Serve! We like to eat it sitting around the kitchen island and as we prepare the next pizza.
- Repeat from step 16 until you've made all of your pizzas. Note: parchment paper can usually be used for at least 2 pizzas before it needs replacing.

