One of the first things I made in my new kitchen was chocolate chip cookies. What makes a new place feel (and smell) more like a home than homemade chocolate chip cookies? Answer, not a whole lot. But I didn’t make just any chocolate chip cookies, I made the New York Times chocolate chip cookies. It’s an adaptation of the chocolate chip cookies recipe used by pastry chef Jacques Torres. Spoiler alert: this recipe is a little more elaborate than your usual chocolate chip cookie, and totally worth trying.
I first heard about this cookie back in September when I was in Baltimore for my friend Emily’s wedding. At the rehearsal dinner I was sitting with some friends of the bride and we were talking about baking and favorite recipes when two of the women started gushing about this New York Times recipe. I had never heard of it before and was a little overwhelmed at the sound of it – the dough uses two kinds of flour and sits for a day and a half. But also, I’m a curious baker. Waiting for 36 hours? I’ll admit that I was intrigued and looked it up immediately when I got home.
So back in London, I found the recipe and it does indeed call for two kinds of flours: cake flour and bread flour. See, not your usual cookie recipe? But, I’m a committed baked and not put off by having special flours in my cupboard. No problem, I’ll go out and get those flours. Except, cake flour doesn’t exist in London. Sigh. What is cake flour anyway? It’s finely ground flour with a lower protein content than all-purpose flour, which lends itself to creating light and fluffy baked goods. And there’s no need to fear if you can’t find it in your super market, because you can make cake flour at home using these easy instructions from Joy the Baker. I have a friend (who’s a more dedicated and detail-oriented baker than me) who did make cake flour at home for this recipe and the cookies were very tasty and rich – but I was lazy and decided to wait until I could get my hands on store-bought flour.
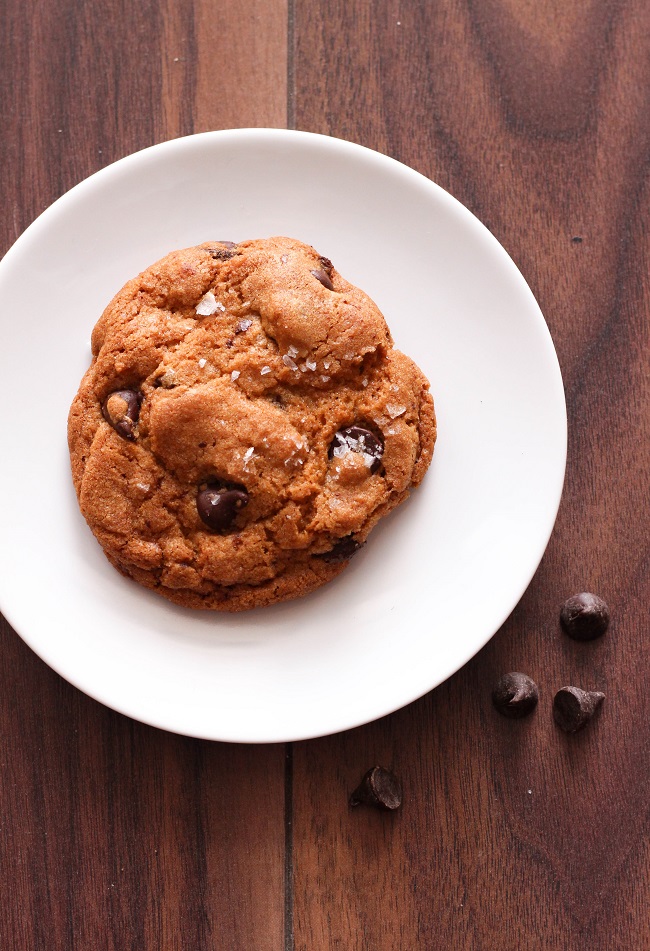
Now, five months after I first heard about the recipe I’m finally back in the US, my new kitchen is mostly stocked, and I run out to buy all the ingredients for the cookies. It was excited to stock my pantry full of things for baking. However, again I couldn’t find one ingredient! This recipe calls for chocolate disks just like Jacques Torres uses. The reason he uses the disks is that he feels they melt better than chips and create layers of chocolate (instead of pockets of chocolate) in every bite. But I couldn’t find any so regular old chips it would be. If you’re super dedicated you can order chocolate disks from Amazon.
While I didn’t get chocolate disks, I did stick to the recommendation that the chocolate be at least 60% cocoa. It gave the cookies a rich, and slightly bitter flavor that was so lovely. Paired with sea salt on top, these cookies are an amazing combination of flavors for your tongue. My friend Abi, and I’m sure lots of other people too, aren’t into the trend of sea salt on desserts – but I think here it’s a combination worth trying. In one bite of cookie you’re getting sweet, salt, and hint of bitter which is just amazing and helps make this cookie worth the wait.
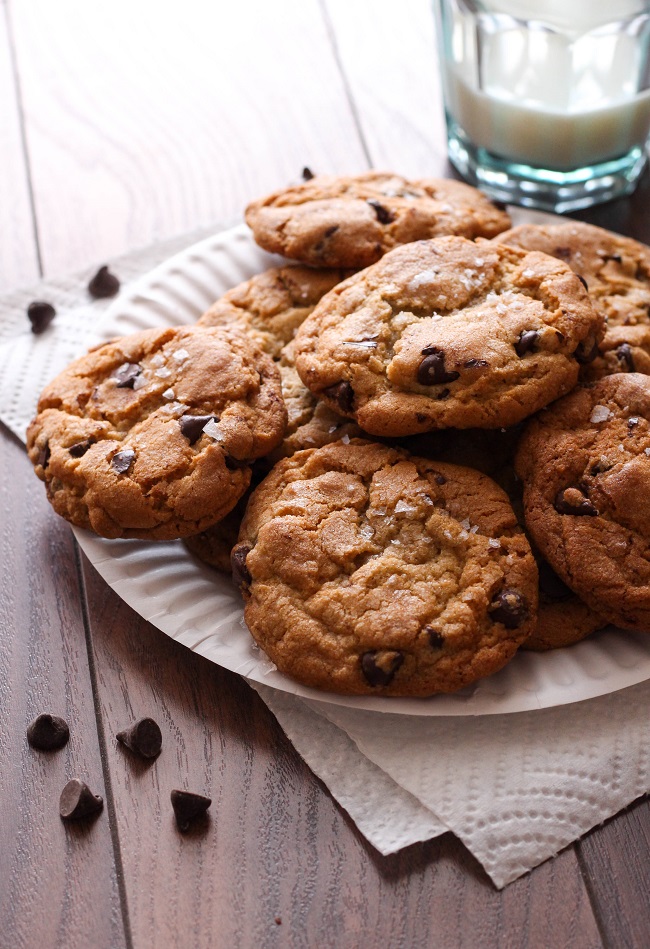
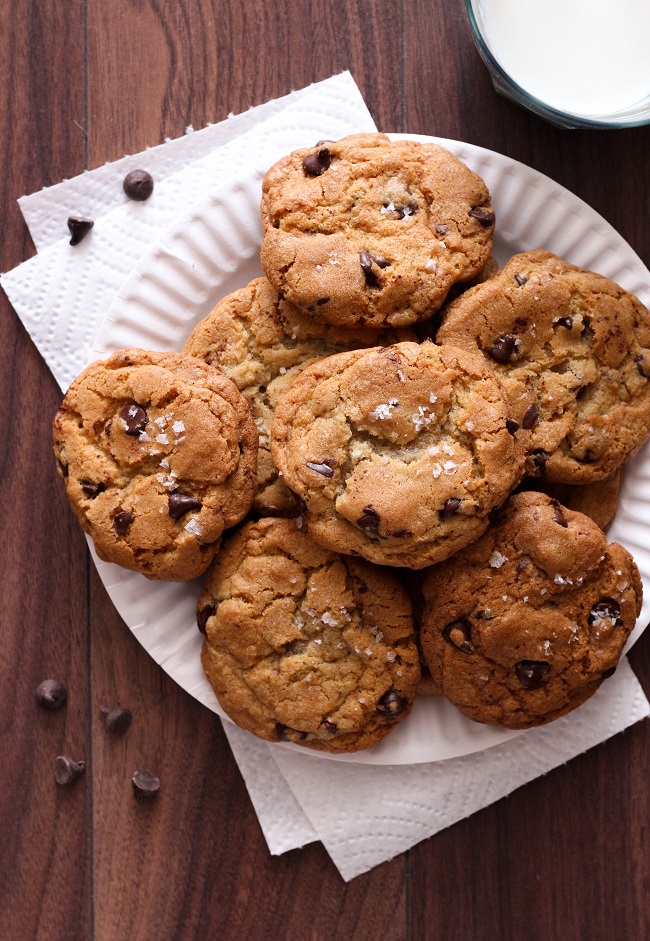
That brings me to the important question. What’s the deal with the 36 hour wait time? The wait allows the dry ingredients time to soak up the wet ingredients, with the final product being a firm cookie with a crisp edge with a chewy center. And it is indeed a delicious cookie. It’s got rich toffee like flavors, decadent chocolate, and a salty finish. It’s wonderful. My parents came down the weekend I made these and they were positively gushing over these.
Will these cookies knock out the standard one-day Tollhouse recipe? Probably not. Sometimes I am going to want chocolate chip cookies right now. But, I’ll still be keeping this recipe in my arsenal because it’s special, incredibly delicious, and taking the time for something unique is really worth it. I especially love the dark chocolate and salt combination and I think it’s one I’ll be using for all future chocolate chip cookie recipes.
Adapted from the New York Times.
 Messy level: I know I’ve gone on and on about the two flours and the wait time, but in terms of skill and dishes this is your standard cookie recipe. Combine wet ingredients, combine dry ingredients, mix the two. It’s simple and not at all messy.
- 2 cups minus 2 tablespoons/ 240 grams cake flour
- 1 ⅔ cups/ 240 grams bread flour
- 1 ¼ teaspoons baking soda
- 1 ½ teaspoons baking powder
- 1 ½ teaspoons coarse salt
- 2 ½ sticks/1¼ cups/ 284 grams unsalted butter
- 1 ¼ cups/ 283 grams light brown sugar
- 1 cup plus 2 tablespoons/ 240 grams granulated sugar
- 2 large eggs
- 2 teaspoons vanilla extract
- 1 pound / 450 grams bittersweet chocolate disks or chips (use at 60 percent cacao)
- Sea salt.
- In a medium bowl mix together the cake flour, bread flour, baking soda, baking powder, and salt. Set aside
- Using a stand mixer, or a large bowl with an electric mixer on high, cream the butter and sugar together until very light and fluffy. This takes about 5 minutes.
- Add the the eggs to the butter mixture one at a time. Make sure to fully mix in the first egg before adding the second.
- Stir in the vanilla to the butter mixture.
- Turn your mixer to low and add the dry ingredients until just combined. Be careful not to over mix. [Note: the NYT says this takes 5-10 seconds, that wasn't true at all for me. This took me about a minute. I did maybe 20-30 seconds in the mixer and then about 30 seconds mixing by hand]
- Gently fold in the chocolate chips.
- Cover the bowl with plastic wrap. Press the plastic wrap so it touches the cookie dough. Put the bowl in the fridge and let it sit for 36 hours.
- When ready to bake, preheat the oven to 350°F/180°C.
- Line your baking sheet with parchment paper or a nonstick mat.
- Scoop out six generous sized golf balls of dough (about 3.5 ounces), form into balls, and place onto your prepared baking sheet. Sprinkle the dough with sea salt. [Note: You're going to end up with fairly large cookies!]
- Bake in the oven for 18-20 minutes or until golden.
- Let cool slightly. These are best eaten a little bit warm so once they are completely cooled I recommend heating them in the microwave for 10 seconds. Don't forget a napkin and some milk!

