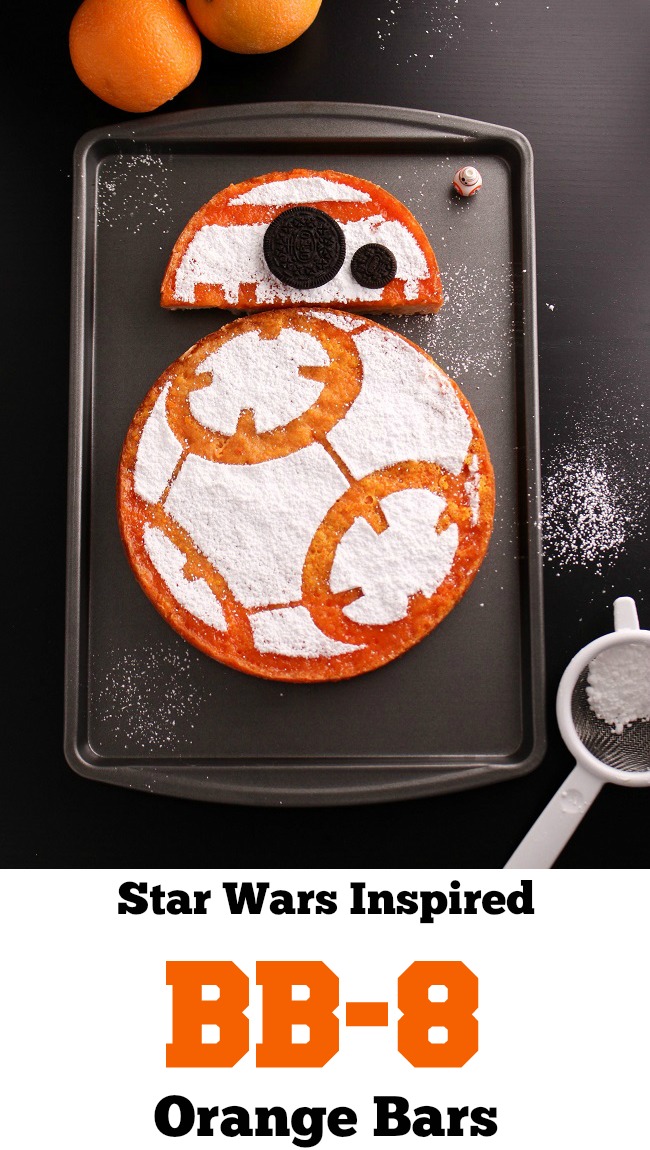
It all started about eight years ago. Ryan and I were shopping and he wanted to buy me a Star Wars video game for Christmas. I was all, “it’s Star Wars, I won’t like it.” I was haughty and close minded. Little did we know that I’d fall in love. Now I’m obsessed and I have Star Wars paraphernalia everywhere. In fact, this is not my first, nor is it even my second Star Wars blog post. I’m a Star Wars nerd and I’m proud of it. And to celebrate I’ve made a special May the 4th (Star Wars day) recipe: a BB-8 Orange Bars.
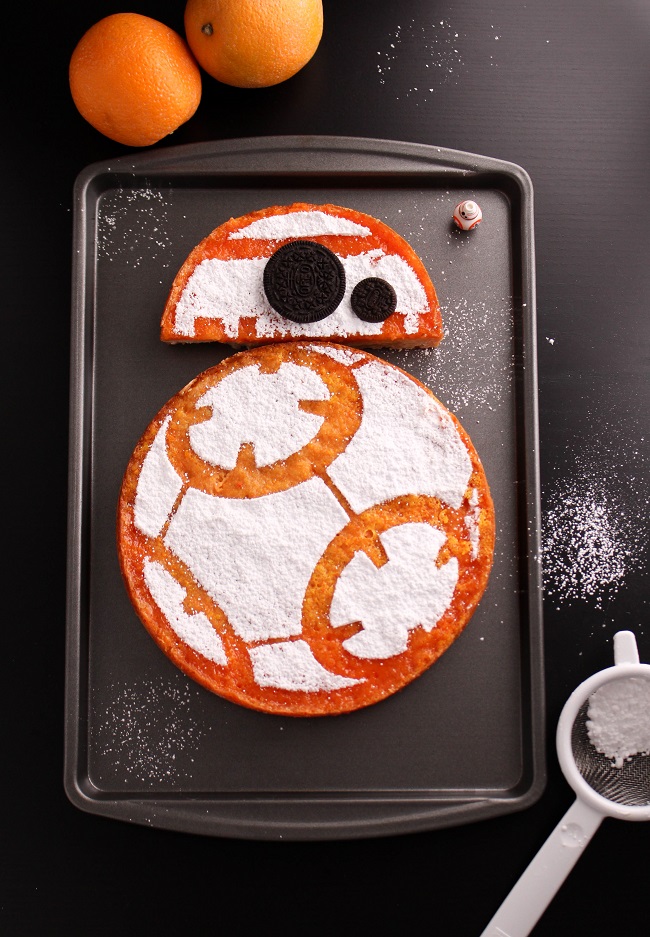
This recipe is basically like lemon bars, but using oranges instead. And also, instead of being bars it’s a circle – because you know BB-8 is spherical. The flavor is bright and delicious and the size is perfect for a showing off at a party. I got the idea for this themed recipe from my friend Dan who made small BB-8 lemon squares when I left the Science Museum. Those were very cool, but I’ll be honest that I don’t have the patience for tiny detail work. Instead, I wanted to make something as visually interesting but bigger. One giant – yet simple – droid dessert! So, I asked my friend for help and he made this lovely and free printable stencil. So now the only equipment we need to make a BB-8 of our very own is access to a printer and six inch and eight inch cake pans. WOOT!
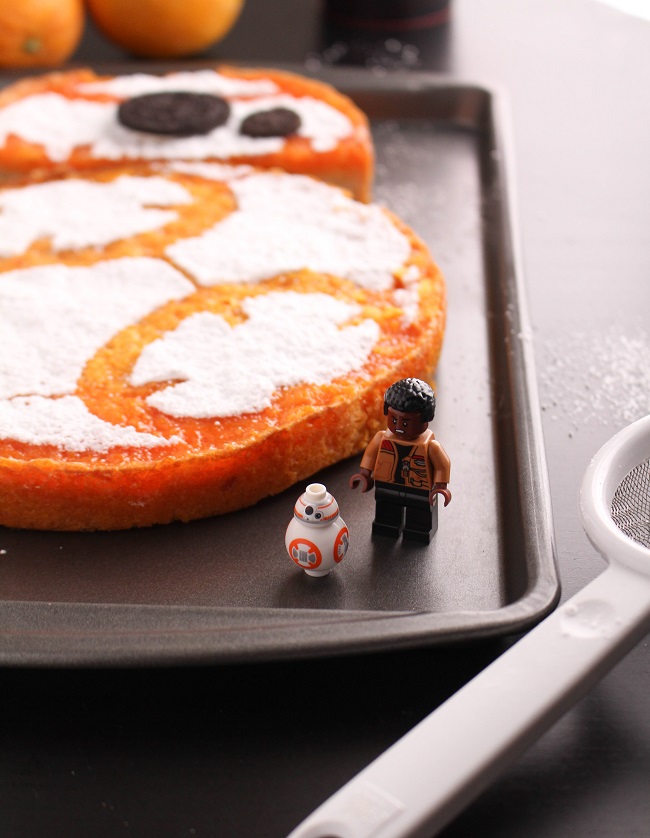
Oh also, you will need one regular sized Oreo and one mini Oreo. So yes, I’m asking you to buy two packages of Oreo’s and you’ll only need one cookie from each. But, I mean… Oreos’ are delicious. And I’m sure in your cooking life you’ve bought ingredients for recipes, and then never used those ingredients again. I feel confident you’ll find a use for leftover Oreo’s. In fact, if you’re feeling especially moved by May the 4th, consider using your extra Oreo’s to decorate some Princess Leia cupcakes.
Before we get to the BB-8 orange bars recipe, I do have a terrible confession to make. A confession that might remove any fan girl street cred I might have. Here it is: I can’t for the life of me think what BB-8 sounds like. He does make noise doesn’t he? I can’t remember! For as adorable and lovable as he is, the droid I know, love, and can hear best is R2-D2. Is that because sometimes I make R2 noises in my daily life? No, that can’t be it. I would never do that…
I think BB-8 is fantastic but I don’t have his personality pinned down. I only remember him giving Finn the thumbs up flame. Adorable. Although, some people I know think BB-8 was giving Finn the finger. Weigh in fellow nerds, what do you think? Thumbs up or no? Is the solution that I re-watch The Force Awakens yet again so I can answer all the tough questions?! I think probably yes.
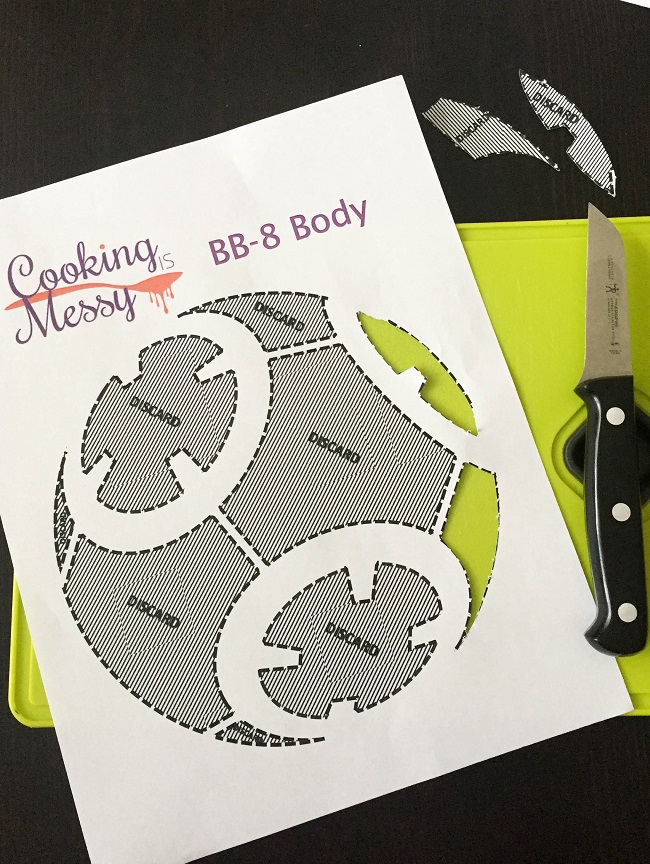
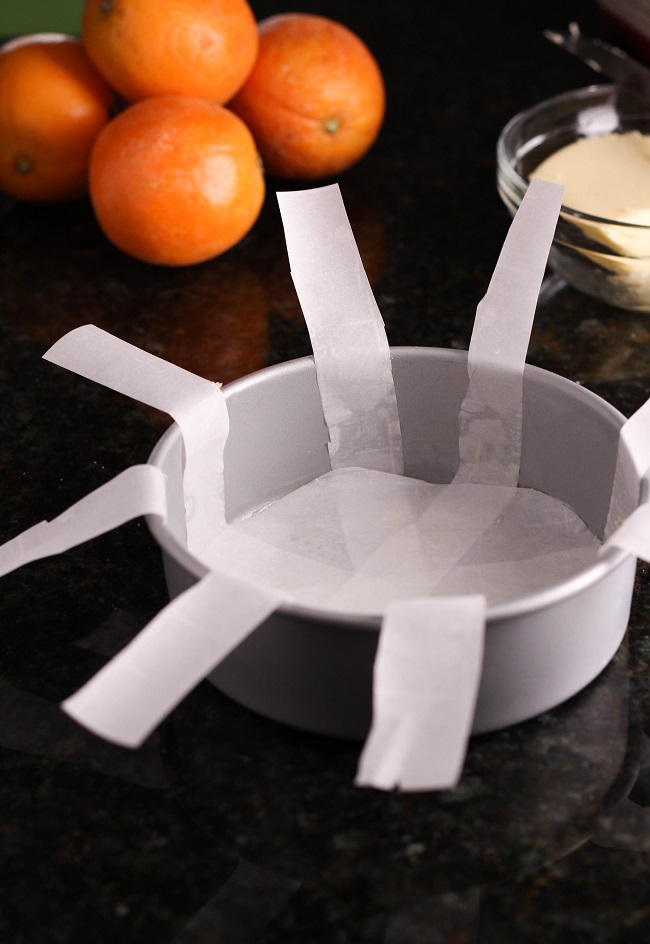
Anyway, I do have a few tips if you’re interested in attempting this for a May the 4th or other Star Wars related festivity. It’s easiest if you have a cake pans with removable bottoms. If not, cut 2-4 long strips of parchment paper and line them across the bottom of your pan so they can be used as hoists in the end. When it comes to the template it worked fine printing on regular paper, but if you want something sturdier feel free to use card stock. When you print, make sure to choose “actual size” instead of “fit to page.” If you choose fit to page, then the template might be slightly smaller than your BB-8 orange bars. And finally you can use scissors, but I found greater accuracy when I place the template on a cutting board and using a sharp knife.
This recipe is adapted from Hummingbird High. The original recipe is for a 9×13 pan. This is important for two reasons. First, it will make pretty thick crust in the two circular cake pans. Feel free not to use all the crust crumbs you make if you’d like something thinner. Second, you can make this recipe in that normal rectangular pan and you’ll have a light, citrusy recipe you can use all year. Although, why use a plain recipe when you could make one fit for a galaxy far far away. Any excuse for more Star Wars I always say.
Free Printable BB-8 Templates:
BB8 Stencil Letter (For American users)
BB8 Stencil A4 (For European users)
 Messy level: Dusting powdered sugar is always messy, we expect that. And for me so is mixing flour. It gets on the flour, I know it. The surprising mess comes from zesting oranges. There’s just so much oil and juice that I find it sprays everywhere and can give things a slightly orangey hue (including my fingers).
- 2¼ cups/ 290 grams all-purpose flour
- ⅔ cup/ 90 grams powdered sugar
- a pinch of salt
- 16 tablespoons/ 230 grams unsalted butter, at room temperature
- 1 cup / 210 grams sugar
- 3 eggs, at room temperature
- 1 tablespoon grated orange zest (from about 1 large, or 2 medium, oranges)
- 6 tablespoons / 90 ml orange juice (from about 1 large, or 2 medium, oranges)
- red and orange food coloring (optional)
- Butter, for greasing pans
- Parchment Paper
- BB-8 head and body templates (see head note for links)
- powdered sugar
- 1 half full-sized Oreo
- 1 half mini Oreo
- Grease a 6" and 8" cake pan with butter. Line the bottom with parchment paper and grease the paper. If you do not have removable bottom pans cut 2-4 strips of parchment paper and use them to line the bottom to make hoists (see photo in head note).
- Preheat oven to 325°F/160°C.
- In a stand mixer fitted with a paddle attachment, or using a large bowl and a hand held electric mixer, mix together the flour, powdered sugar, salt, and butter. Mix until it resembles crumbs.
- If you don't like a thick crust you can discard about 10% of this mixture. If you have a scale you can do this next part exactly by weight, otherwise eyeball it the best you can. Take about 60% of the crumbs and put them in the 8" pan. Put the rest of the crumbs in the 6" pan. Using your hands or the bottom of sturdy measuring cup, press the crumbs firmly into the pan. You want to press it as tightly as possible and fill in all gaps.
- Bake the crust for 20-25 minutes, or until golden brown. If you put both pans in the oven at the same time, keep an eye out for them and rotate halfway through to ensure even baking.
- Once finished baking, remove from the oven and let the crusts cool slightly.
- In a large bowl, whisk together the sugar, eggs, juice, and zest.
- If you want a rich orange color for BB-8 add a few drops of food coloring. Add 1-2 drops red and 2-6 drops yellow. Stir, then adjust to reach your desired color. Be careful, the red can be strong so go slowly!
- Pour about 60% of the filling mixture over the 8" pan and the remainder over the 6" pan. If one feels more full than the other you can use a spoon to transfer filling between the two until even. If you have a scale you can also do it more precisely by weight. Note: the filling is runny so some might seep underneath the crust. That's ok!
- Bake the filling for 20-25 minutes or until the edges are set and the center is just ever so slightly wiggly. If you're baking both pans at the same time, rotate the pans halfway through. Keep your eye on the pans to make sure they bake evenly and that the 6" pan doesn't get over done.
- Remove from the oven and let cool slightly. Then cover with plastic wrap and let cool in the refrigerator for one hour or up to overnight. This step is important because it will help set the filling and help the BB-8 design last longer.
- While you're waiting for the bars to cool, put the templates on a cutting board. Use a sharp knife to cut all the spaces that say "discard."
- When ready to decorate, remove the orange bars from the pans.
- Cut the 6" round in half. Wrap up one half and put away, you won't need it for BB-8.
- Align the BB-8 Head template over one half of the 6" round. Sift a thick opaque layer of powdered sugar over the orange bar. Carefully remove template and discard it.
- Take the full-sized Oreo half and place it centrally on BB-8's head. Align it with the semi-circle shape made with the powdered sugar.
- Take the mini Oreo and place it slightly lower and to the right of the full sized Oreo. You now have BB-8's head!
- Align the BB-8 Body template over the 8" round. Sift a thick opaque later of powdered sugar over the orange bar. Carefully remove template and discard it.
- On a platter or cookie sheet, arrange BB-8 head above the BB-8 body. Step back and enjoy your work.
- Serve immediately. Cut into wedge shaped slices. May the force be with you!

