Happy New Years everybody! Did anyone make any resolutions? I know resolutions aren’t for every one, and if you really want to make a change you don’t need an arbitrary day to tell you to make a change, but I like thinking about New Years resolutions. So much can happen in a year! I mean, this time last year Ryan and I didn’t know if we were moving to London. Anyway, this year I have three blog related ones:
- Improve my decorating skills for baked goods (see my gingerbread meltdown and you’ll know why)
- Create more recipes that are all my own
- Redo my Puerto Rican arepas recipe.
Today we’re going to focus on number 2 and 3. If you’re not familiar with arepas you might wonder why that makes my resolution list. Well, I’ll tell you. Arepas are fried dough and you can eat them with rice, beans, chicken, and all kinds of good foods. They are absolutely delicious! For both 2013 and 2014, my Puerto Rican arepas post has been my most popular post. I don’t promote this post, I don’t even have great pictures, but when people Google for Puerto Rican areaps recipes they end up with me. I think it’s because Venezuelan arepas are most well known and there are so few clear recipes for Puerto Rican arepas. For example, I watched a YouTube video that was an older women just throwing ingredients into a large bucket and mixing it all together. It’s all in Spanish, but midway through she says she thinks it got botched. Not helpful. It looked authentic, but it wouldn’t have been easy to copy.
Anyway, my first attempt was in May 2013, and I was trying to emulate my grandmother’s recipe. That attempt tasted right, but didn’t look right. So, I tried again with a second arepa recipe in September 2013. This recipe looked right, but tasted too much like regular bread. So it’s been on my mind to try it again, but wasn’t much of a priority. But, the perfect moment to try again was this week while I was in Connecticut visiting my parents. I asked my dad to help me so we could try to recreate his mom’s recipe.
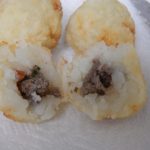
And we freaking did it ya’ll! Specifically, we ticked all our sense memory boxes – which is really the most important element. The arepas were golden in color, they smelled perfect, they were flaky when pulled apart, and they had big air bubbles perfect for filling with beans and rice. This is the ultimate arepas recipe. Is it really my grandmother’s recipe? I have no idea because I never saw her make them. And our memories were hazy. Did she knead the dough until smooth? Maybe, but I couldn’t get my dough there. Did she roll the dough into disks? No clue .When she let the dough sit, did it rise? We had no idea. So, it’s not my grandmother’s recipe, it’s mine, but with the flavors she taught us. And anyway, it made us feel the way hers did, and that’s probably most important.
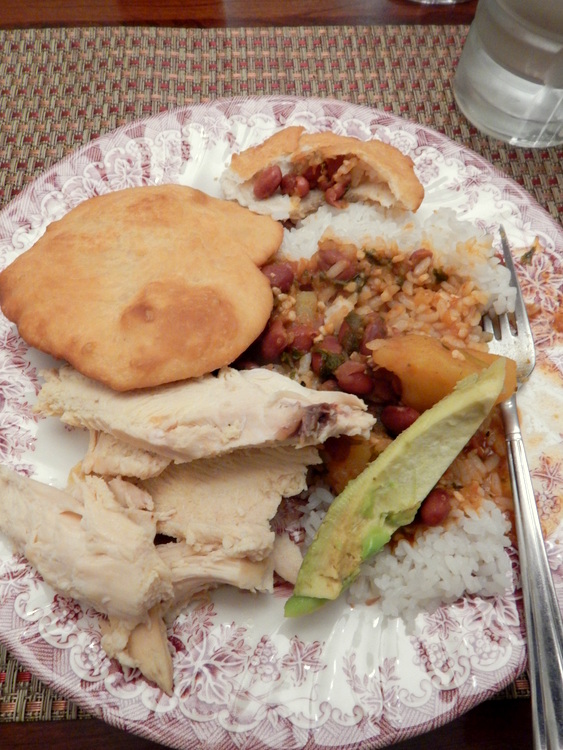
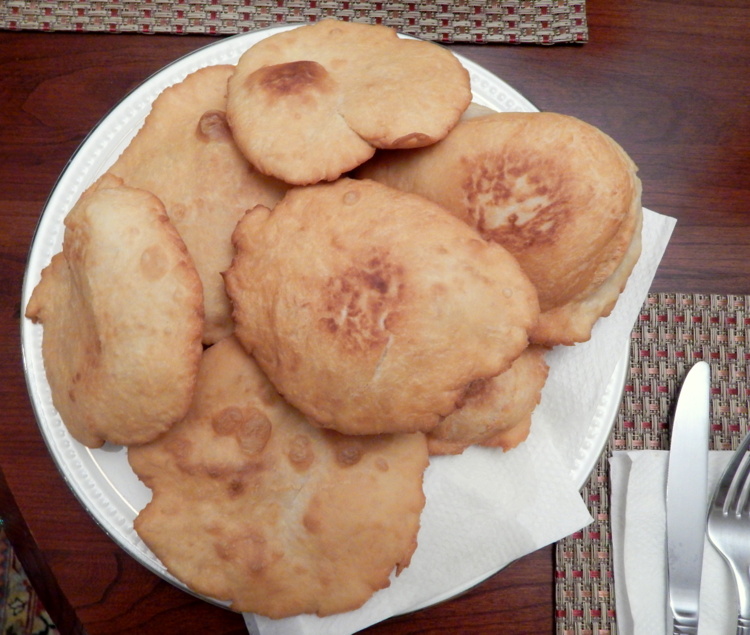 A successful arepas recipe was cause for celebration. When I fried the first one and opened it, my parents went “WOW!” I’m serious, it was loud and genuine and awesome. So, to do it up right, my mom made rice, beans, and a roast chicken. We had a huge Puerto Rican feast. We stuffed the arepas, I stuffed my belly, and then I immediately fell asleep in front of the TV. I’ll say I’m starting the New Year off right.
 Messy level: If you use a large bowl, this is not very messy at all. You need a very big bowl to make sure you can properly mix everything without having flour go flying. The real warning you’ll need is not about mess, but about muscle power. Your arms will be tired after all the kneading!
- 8 cups all-purpose flour
- 4 tablespoons baking powder
- 1 heaping tablespoon salt
- 10 oz lard, cut into cubes
- 2½ cups room temperature water
- vegetable oil
- In a very large bowl mix together the flour, baking powder, and salt. Do this with your hands or a spoon.
- Add the lard to the flour mixture. Use your fingers to break the lard up into little pieces. Massage the lard into the flour mixture until the lard is pea sized and the whole thing looks like sand.
- A few tablespoons at a time, add the water too the flour mixture. In between each addition knead the water into the flour. You might not need all of the water! [This stage takes a long time and can be tiresome on your hands and arms. You can do it! I'm sure you can use a mixer with a dough hook, but I haven't tried it. And I think hammering it out by hand helps better channel abuela anyway. ]
- As you use up the water, the flour will turn from sticky pieces to a dough. Knead the dough until it comes together in one large piece. If you don't know how to knead watch this tutorial. The dough is ready when it feels a little springy and you can roll it together into a ball. It won't be perfectly smooth or very stretchy and elastic.
- Cover the dough with a warm damp towel and let sit for 1-2 hours.
- When you're ready to cook, tear off balls the size of two golf balls.
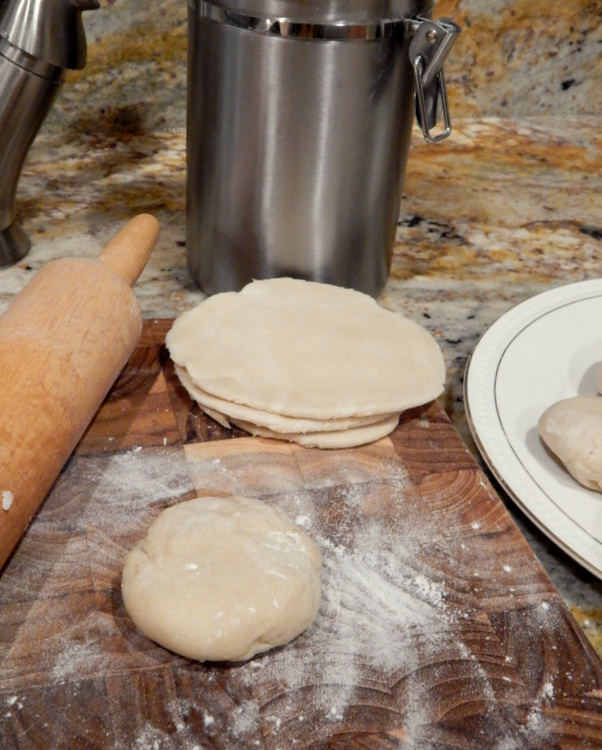
- Flour your work surface, then roll out the balls until you have discs about ¼ inch thick. Any balls you don't want to use can be stored in an air tight container in the fridge for a few days. Wrap tightly with plastic wrap and put in the freezer if you need to store them for longer.
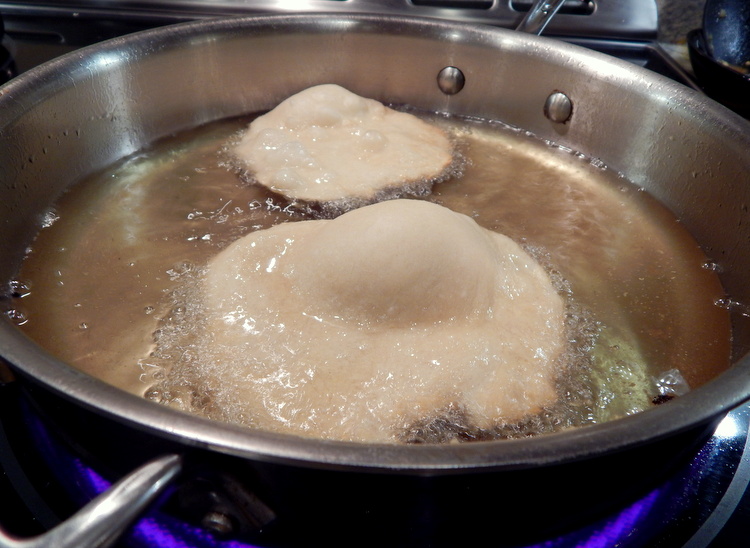
- Heat about ½ inch of vegetable oil in a skillet on high heat. Test if the oil is ready by taking a tiny ball of dough (size of a tic tac) and put it in the oil. If it sinks, then rises, and is surrounded by bubbles then your oil is ready.
- Gently slide 1-3 arepas into your skillet. You don't want to over crowd! If you over crowd the oil will cool down and won't cook your arepas properly.
- Cook on one side for about 30-45 seconds. It should sink, then rise to the top of the oil, then air bubbles should start to form. When you can see browning on the edges, flip the arepa over. Cook on the second side for about 30-45 seconds. Keep flipping until you have the desired golden color.
- Keep working in batches of 1-3 arepas until you have cooked your desired amount.
- Serve plain or with rice, beans, chicken, eggs or whatever you'd like to stuff inside.



I’ve tried this recipe twice and both times they just come out tasting like salty biscuits. Not light and flaky at all.
Hi Montica – I’m sorry to hear the recipe hasn’t worked! It’s been awhile since I’ve made it myself so I’ll get back to it and try it again – see if I can’t perfect it further. I’ll try making it again, as well I’ll see if I can do some research on the science behind what makes it flaky or not. When you say it’s like a biscuit do you mean it’s dense?