The post Raspberry Honeycomb Ice Cream Pie appeared first on Cooking is Messy.
]]> Recently I bought delicious and BBC Good Food, two UK based food magazines. I thought it would be nice to have some recipes and not have to constantly search for conversion. My oven is in Celsius and everything I buy in the grocery store comes in milliliters or grams. But I’m used to Fahrenheit and ounces and tablespoons. So, I pulled out tons of recipes and the first one I chose to make doesn’t really require too much conversion anyway.
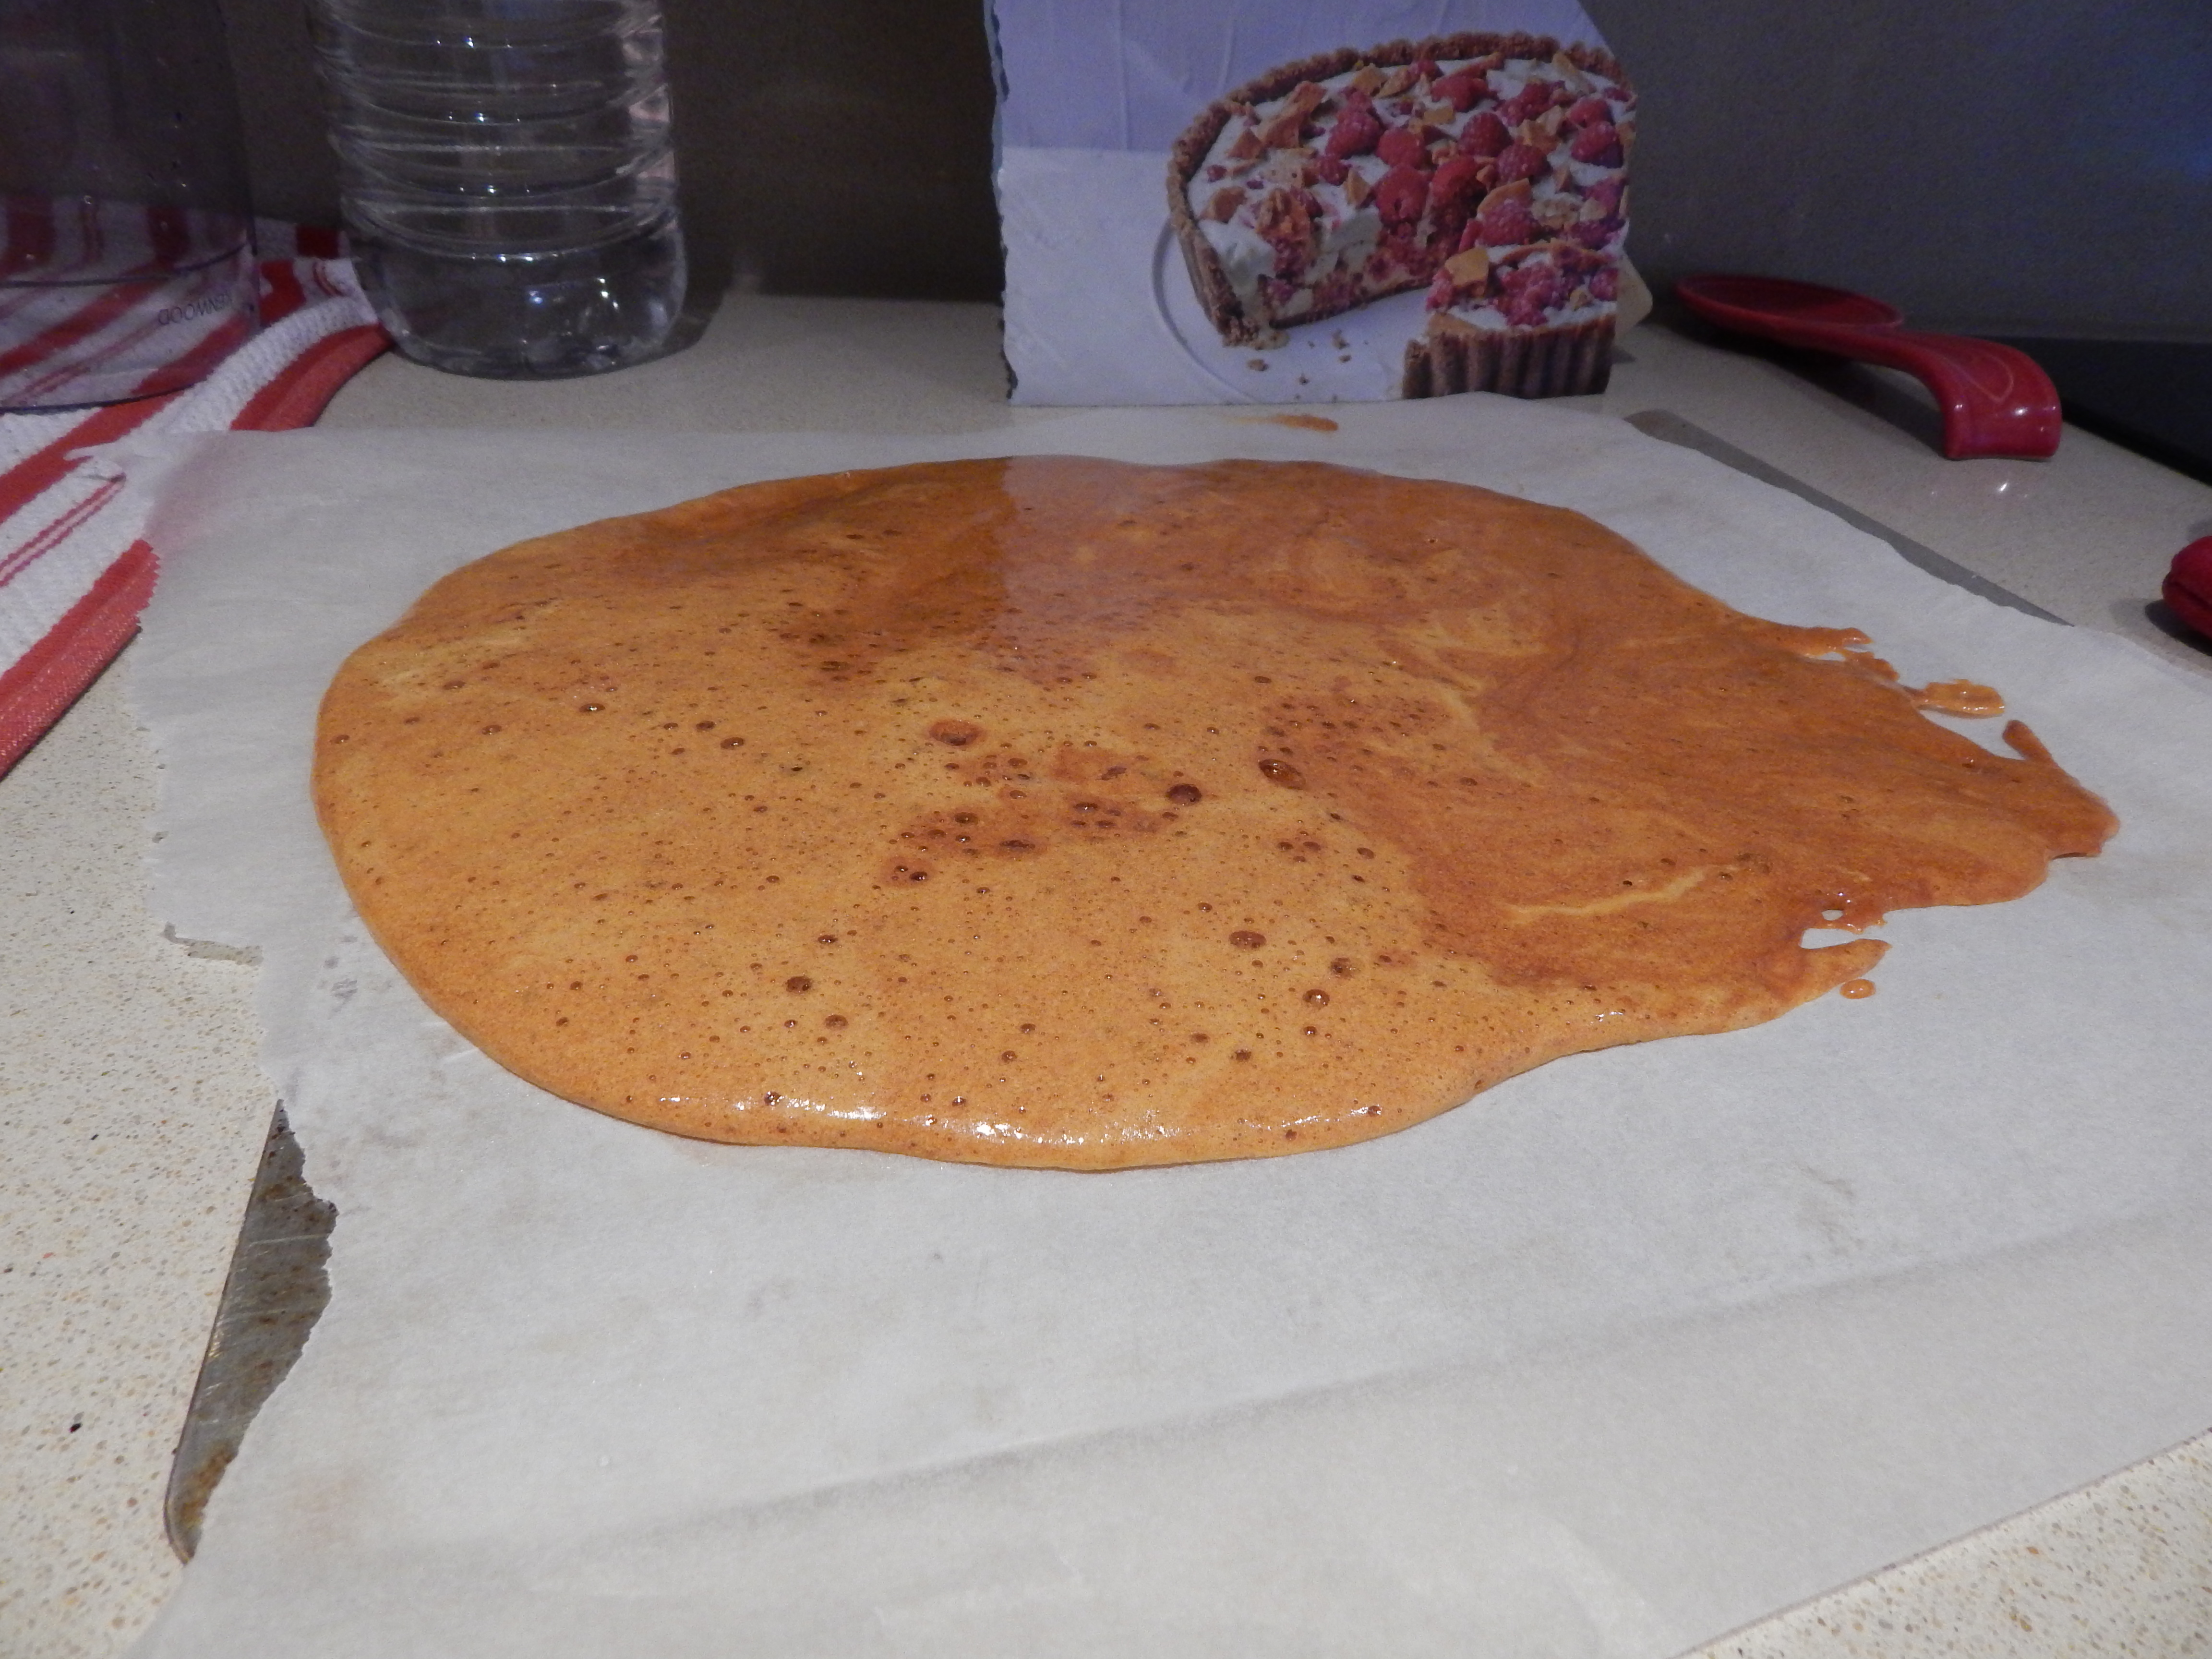
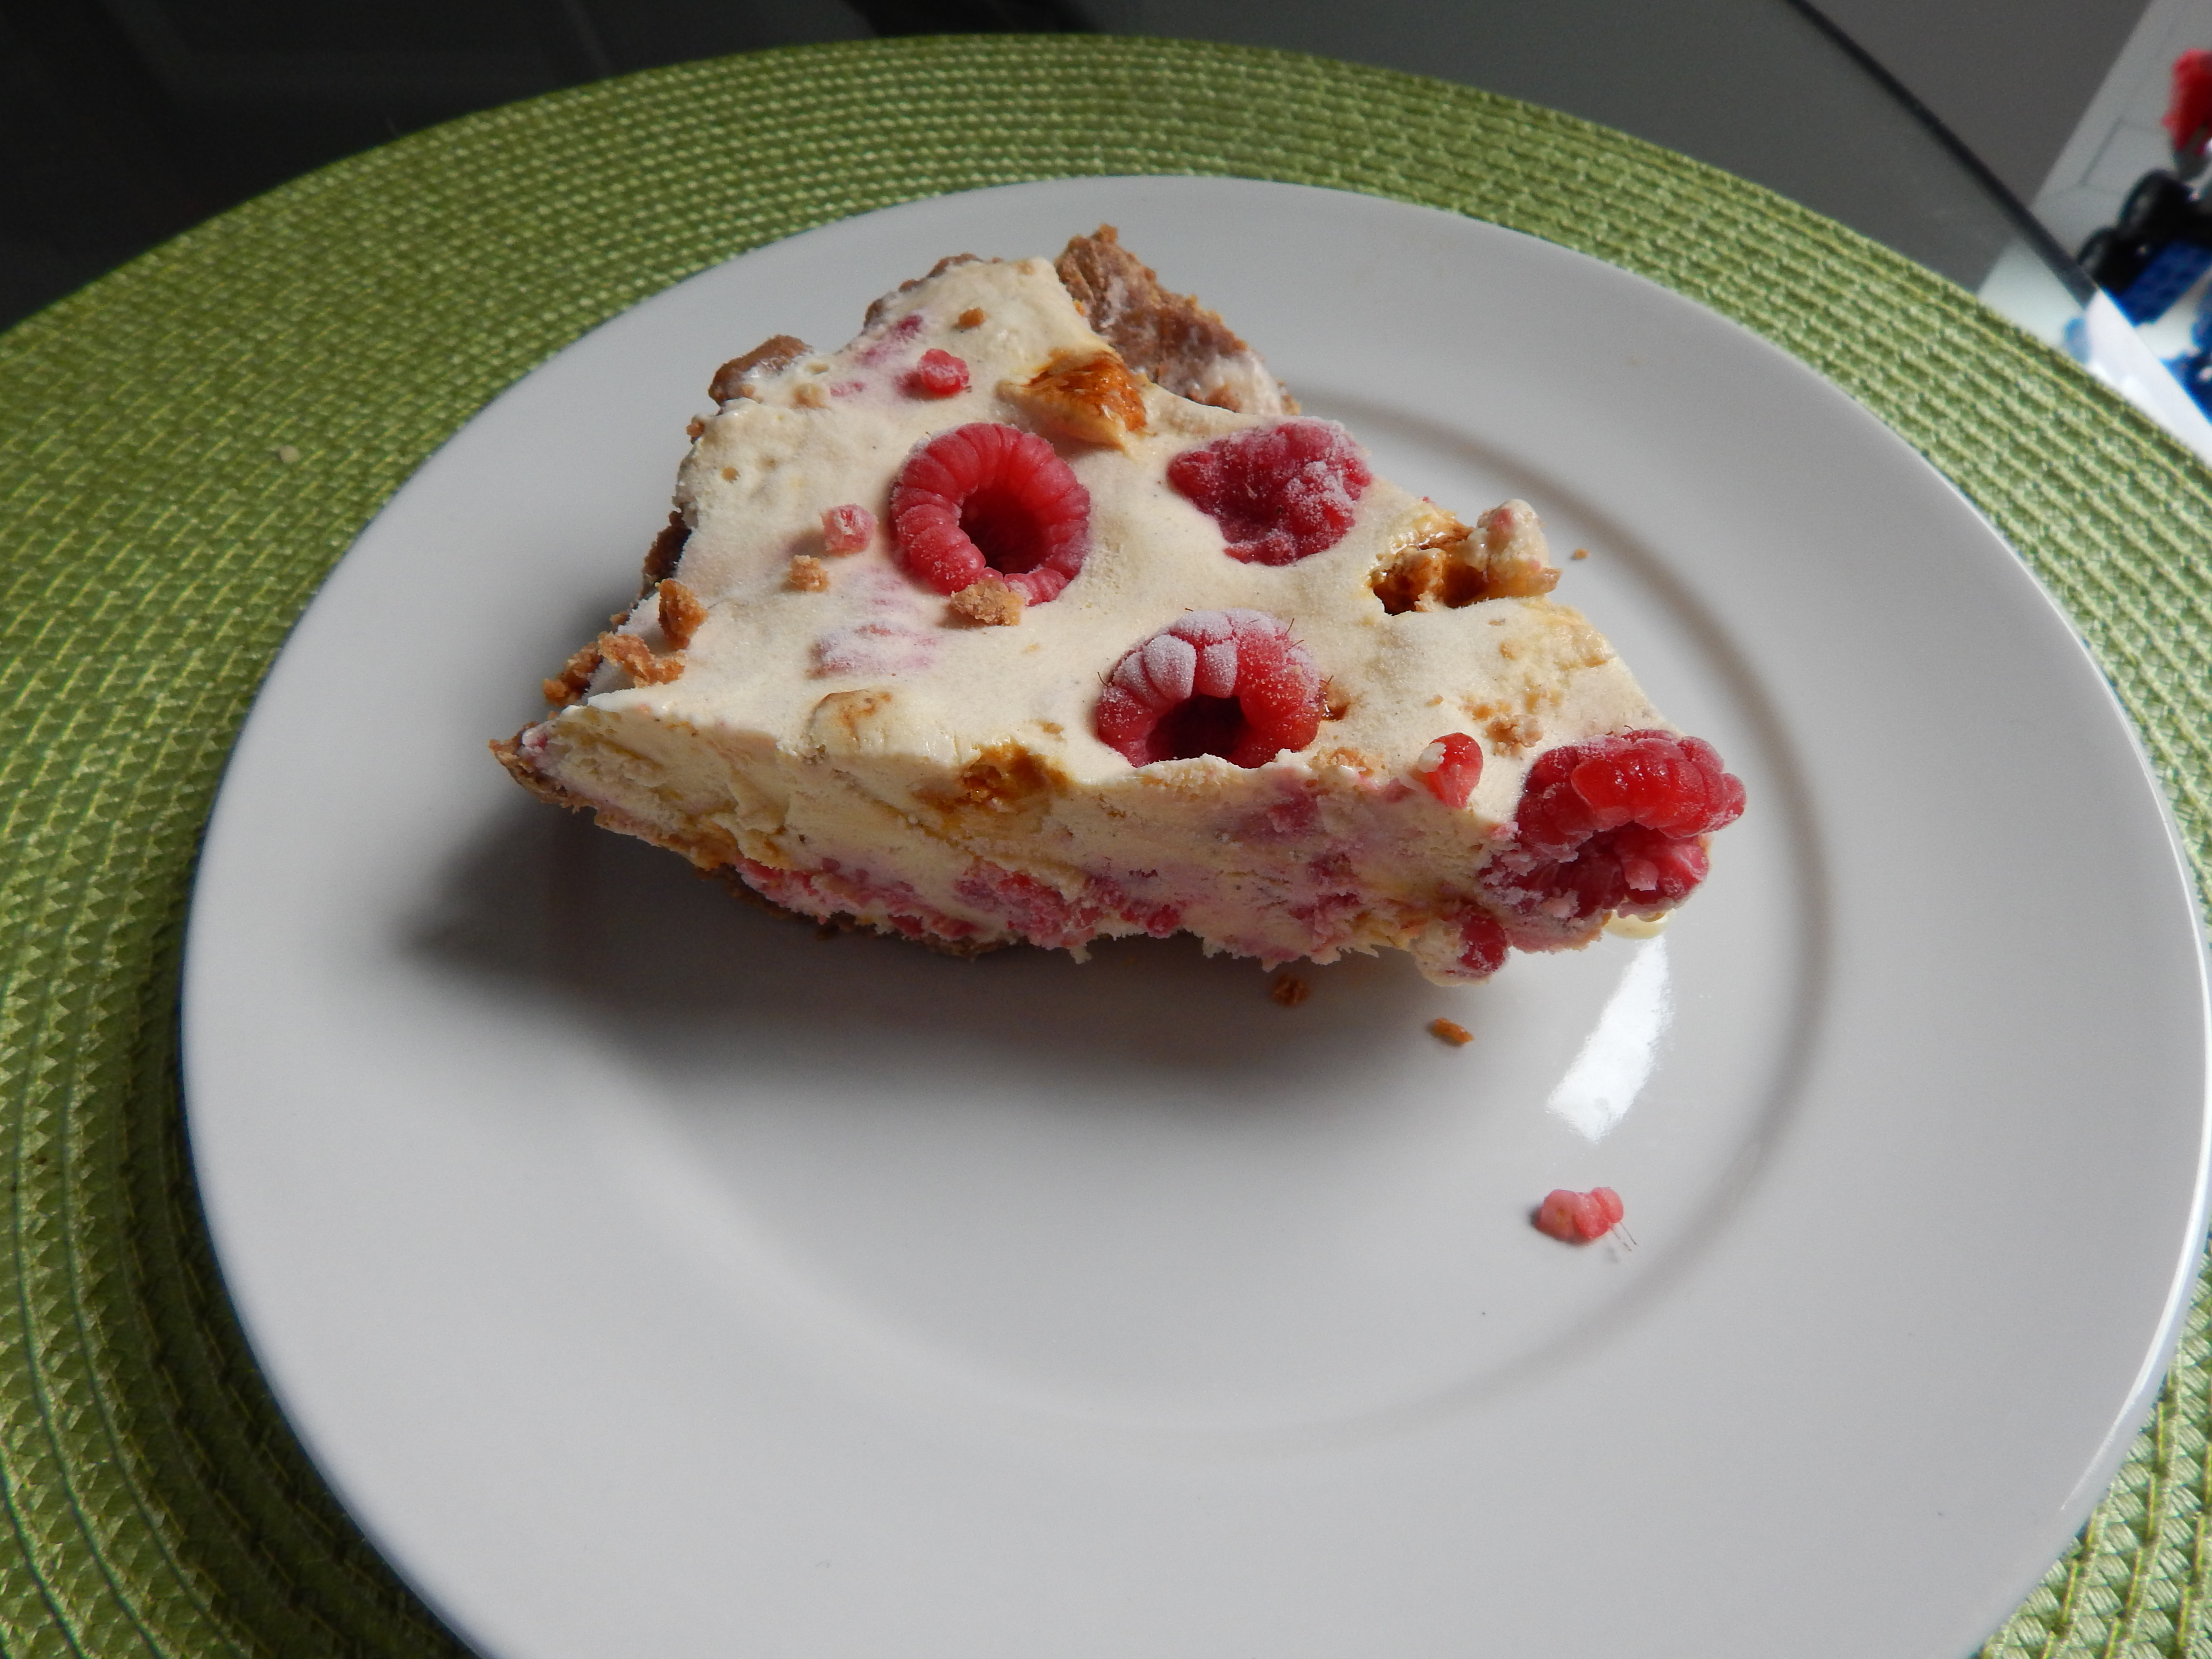
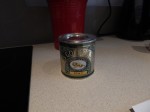 The one ingredient I was unfamiliar with was the honeycomb. Is this something that exists in the US? What I found is that honeycomb is a toffee-like with a rigid but also a little bit light and airy. It was actually really yummy. The flavor reminded me of a Werther’s Original and the texture was a little like a graham cracker. The honeycomb adds a really nice crunch to the pie. Here the honeycomb is made from golden syrup, which I is another thing I hadn’t heard of before. If you’re going to make this at home, substitute corn syrup for the golden syrup.
There are two great things about this recipe. One it’s delicious. Two, it’s so easy! There is so little work and if you really don’t like cooking you can use store bought ingredients. Instead of making your own crust, buy graham cracker crust. Instead of making honeycomb, you can buy it at the store in the baking aisle (at least you can here in London). Or if you can crush up graham crackers or Werther’s Originals to get something sort of similar.
This recipe is beautiful and delicious treat. And if anyone deserves dessert, it’s me and Ryan. This weekend we went to Odiham in Hampshire. We went to see Odiham Castle, we walked along a canal, we saw baby ducks, we saw horses, and gorgeous old brick homes. We walked through lush grassy woods, we got caught in the rain, and we strolled along the high street. We walked at least seven miles. It was gorgeous, wonderful, and exhausting. We earned dessert.


Adapted from BBC Good Food.
Ingredients:
Honeycomb-
1 cup/200g of sugar
5 tbsp golden syrup
2 tsp baking soda
Everything else-
1 1/4 cup/250g graham crackers or caramel flavored cookies
3 oz butter
6 tbsp butter, melted (might not need all of it)
1 3/4 cup raspberries
500g/18 oz vanilla ice cream (you might not need it all)
Directions:
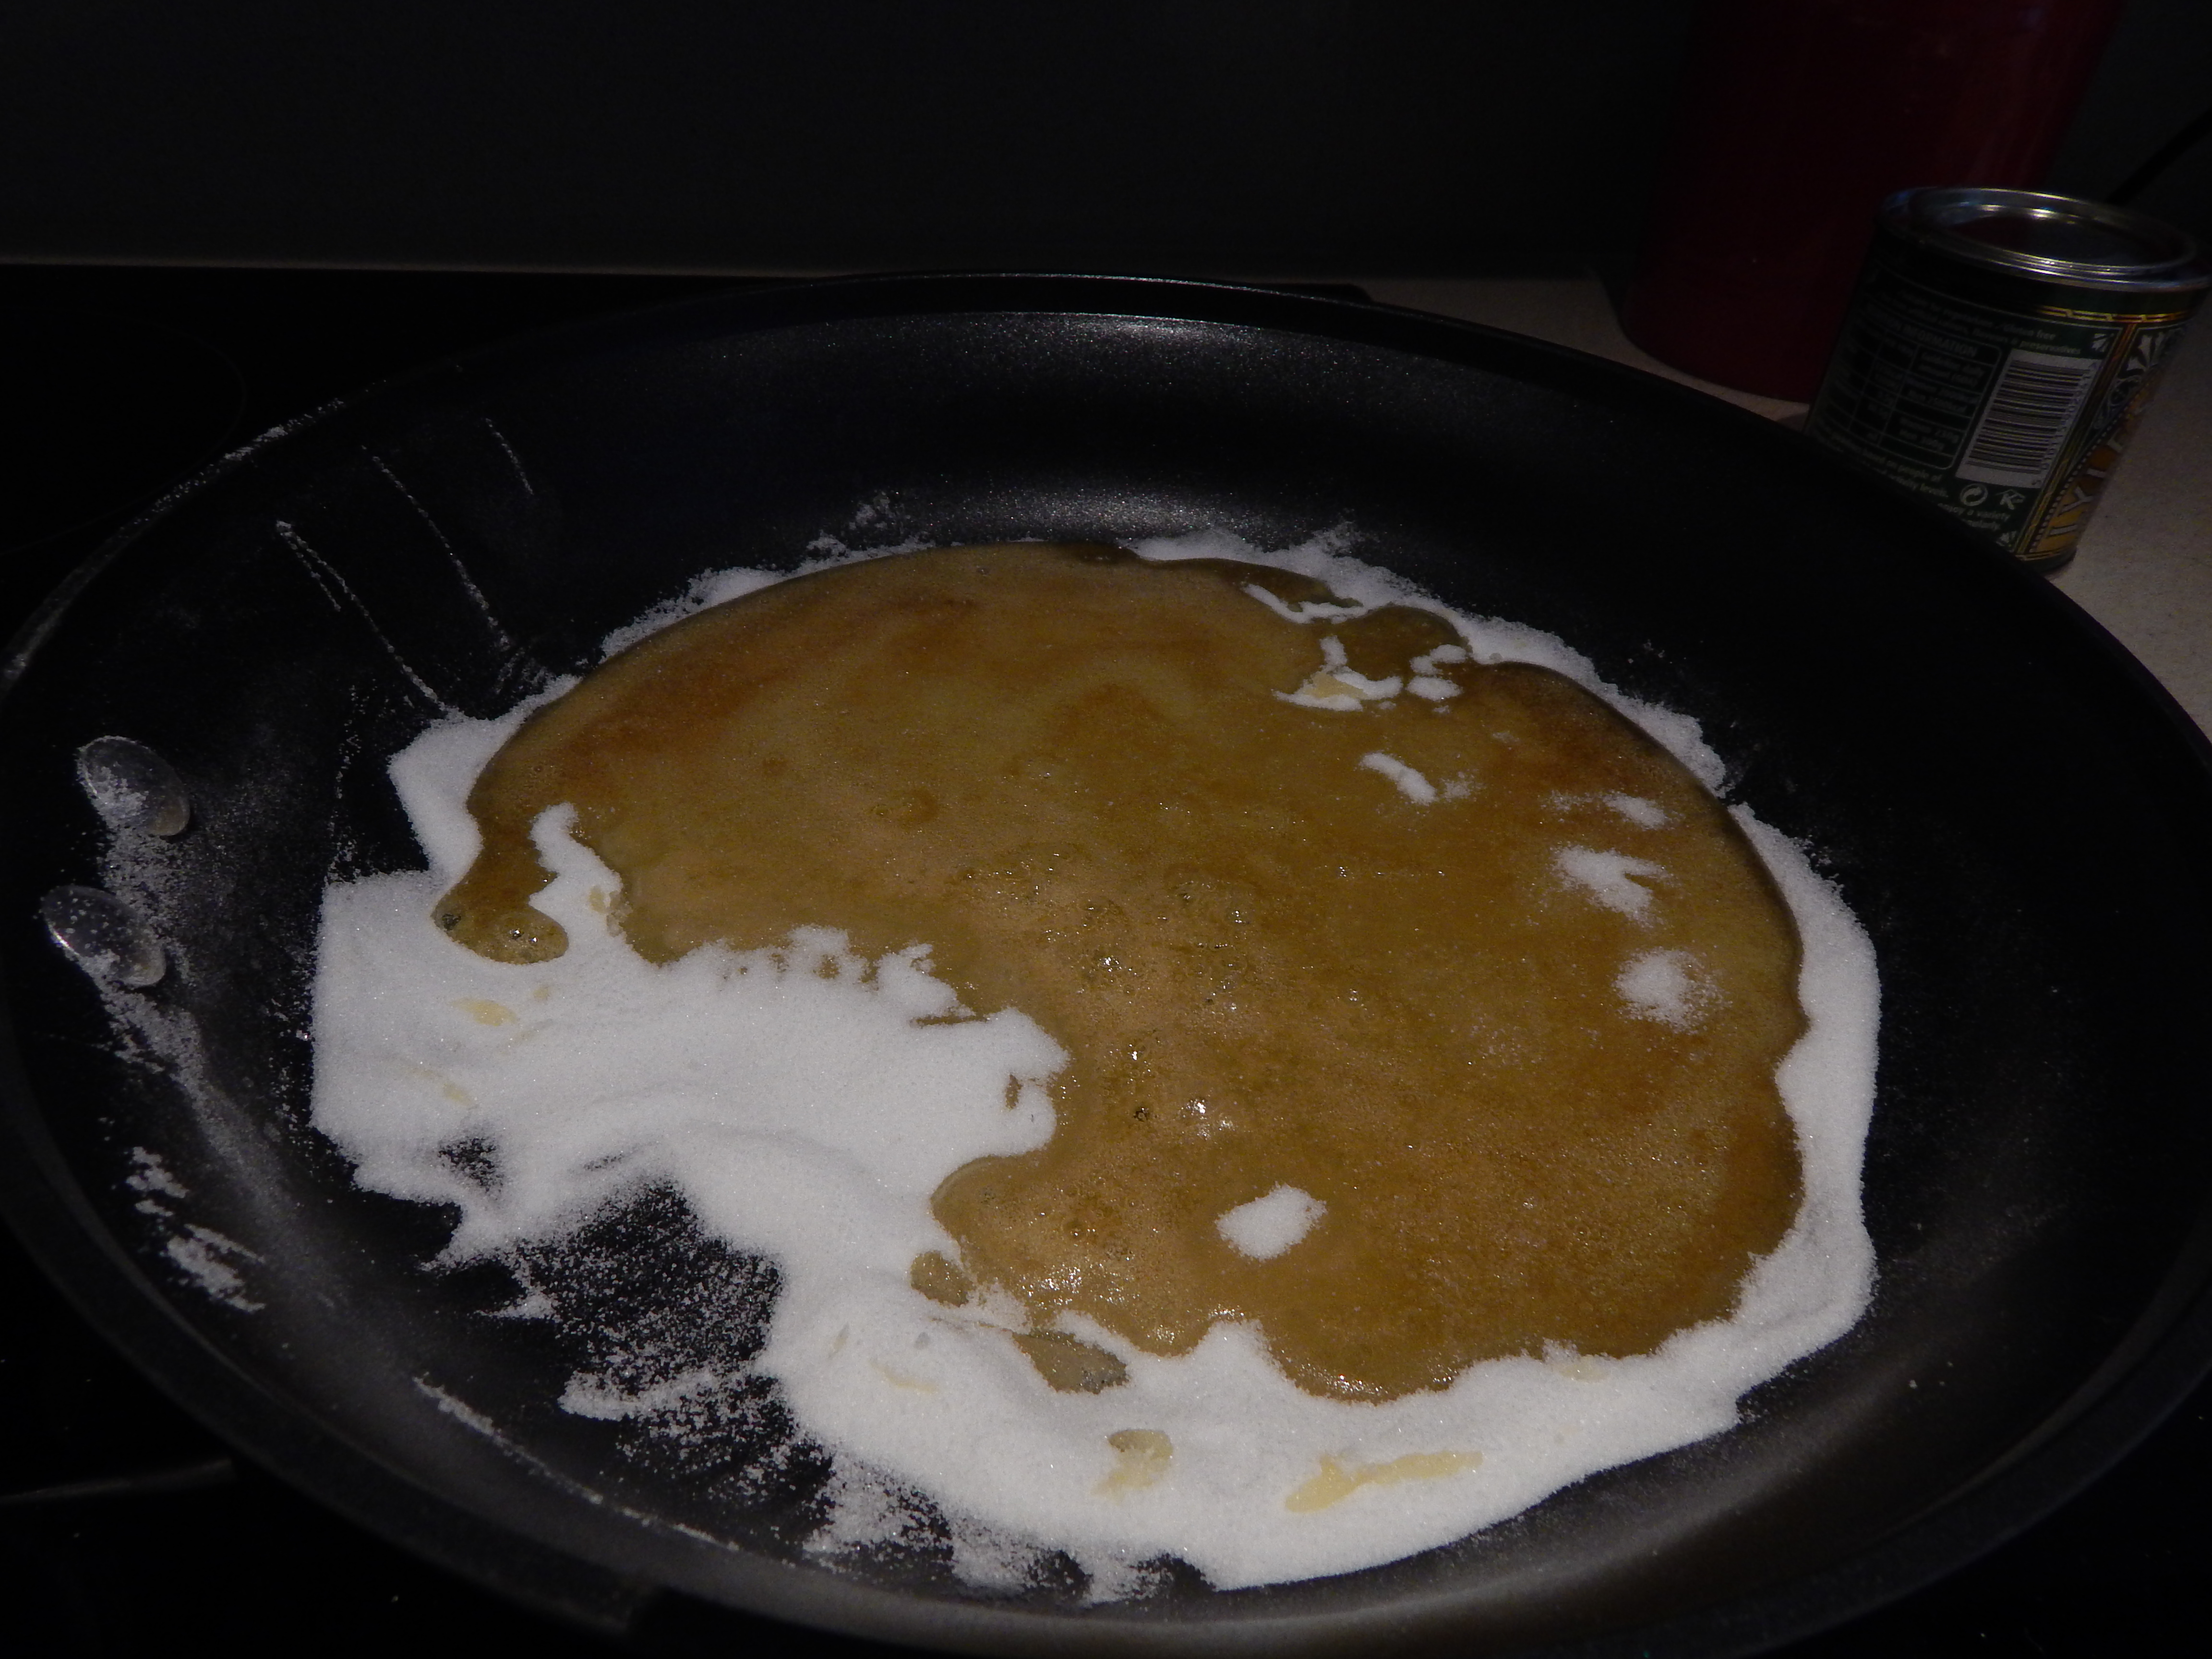
1. Start by making the honeycomb. Line a baking sheet with parchment paper. Mix the sugar and golden syrup in wide saucepan. It won’t mix neatly, it will be a little chunky in places. Place over medium heat and leave until dissolved and bubbling. The magazine says don’t be tempted to stir because otherwise the sugar will crystallize. As the mixture heats, the liquid will start to thin, spread, and become homogeneous.
2. Once the sugar is dissolved, turn up the heat and let it bubble for 1 minute.
3. Add the baking soda and stir. It will bubble up quickly so be careful!
4. Pour on the prepared baking sheet and leave for 20 minutes until cool and firm.
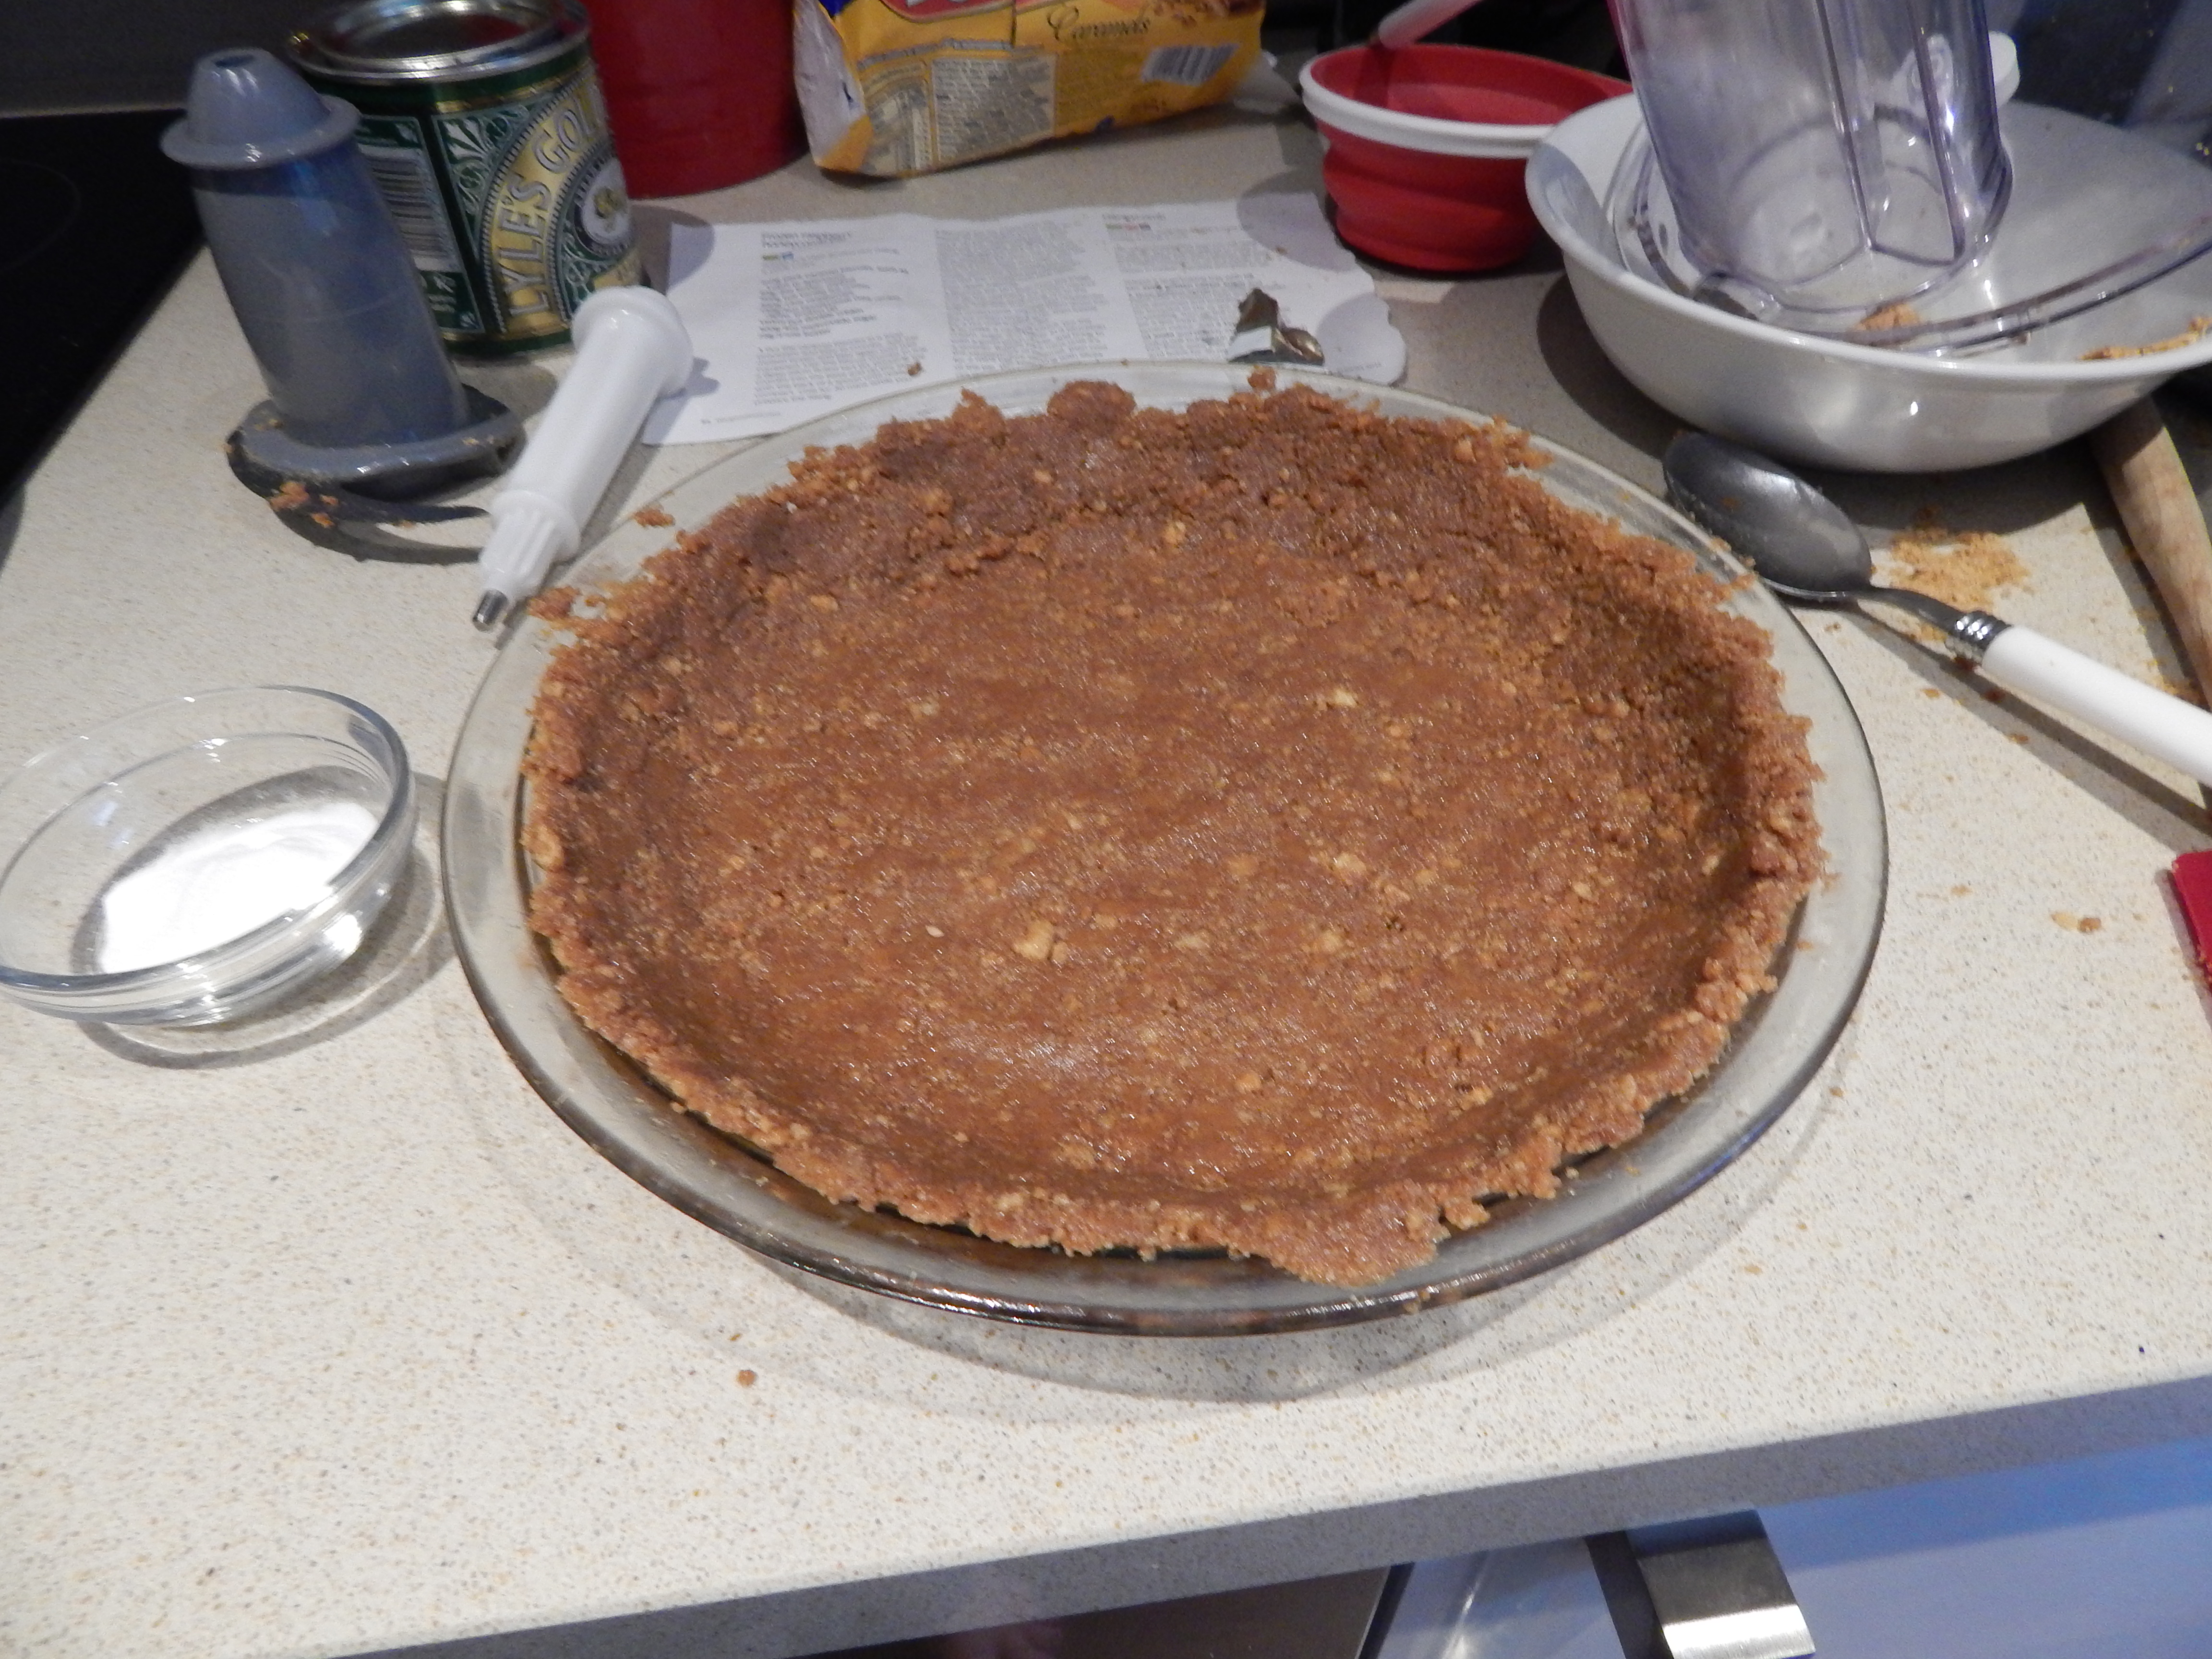
5. Now for the pie! In a food processor (or with ziplock bag and a rolling pin) smash up the cookies until they are crumbs. Add in the melted butter and mix until well combined. You want a wet sandy mix.
6. Pour the crumbs into a pie plate. Press them crumbs into the plate with a spoon. Press until really firm! Chill for 30 minutes.
7. Remove the ice cream from the freezer. Let it sit out for 10-15 minutes. You want it to be soft enough you can stir it around, but not so soft it is soupy.
8. Once the ice cream is ready, get a large bowl. Mix together the ice cream and most of raspberries. Leave a handful of raspberries on the side. While you’re stirring, try to smash up some of the raspberries. It will make a beautiful juicy swirl.
9. Smash up half the honeycomb into little pieces. Add it to the ice cream. Mix until you have a beautiful ripply ice cream swirl.
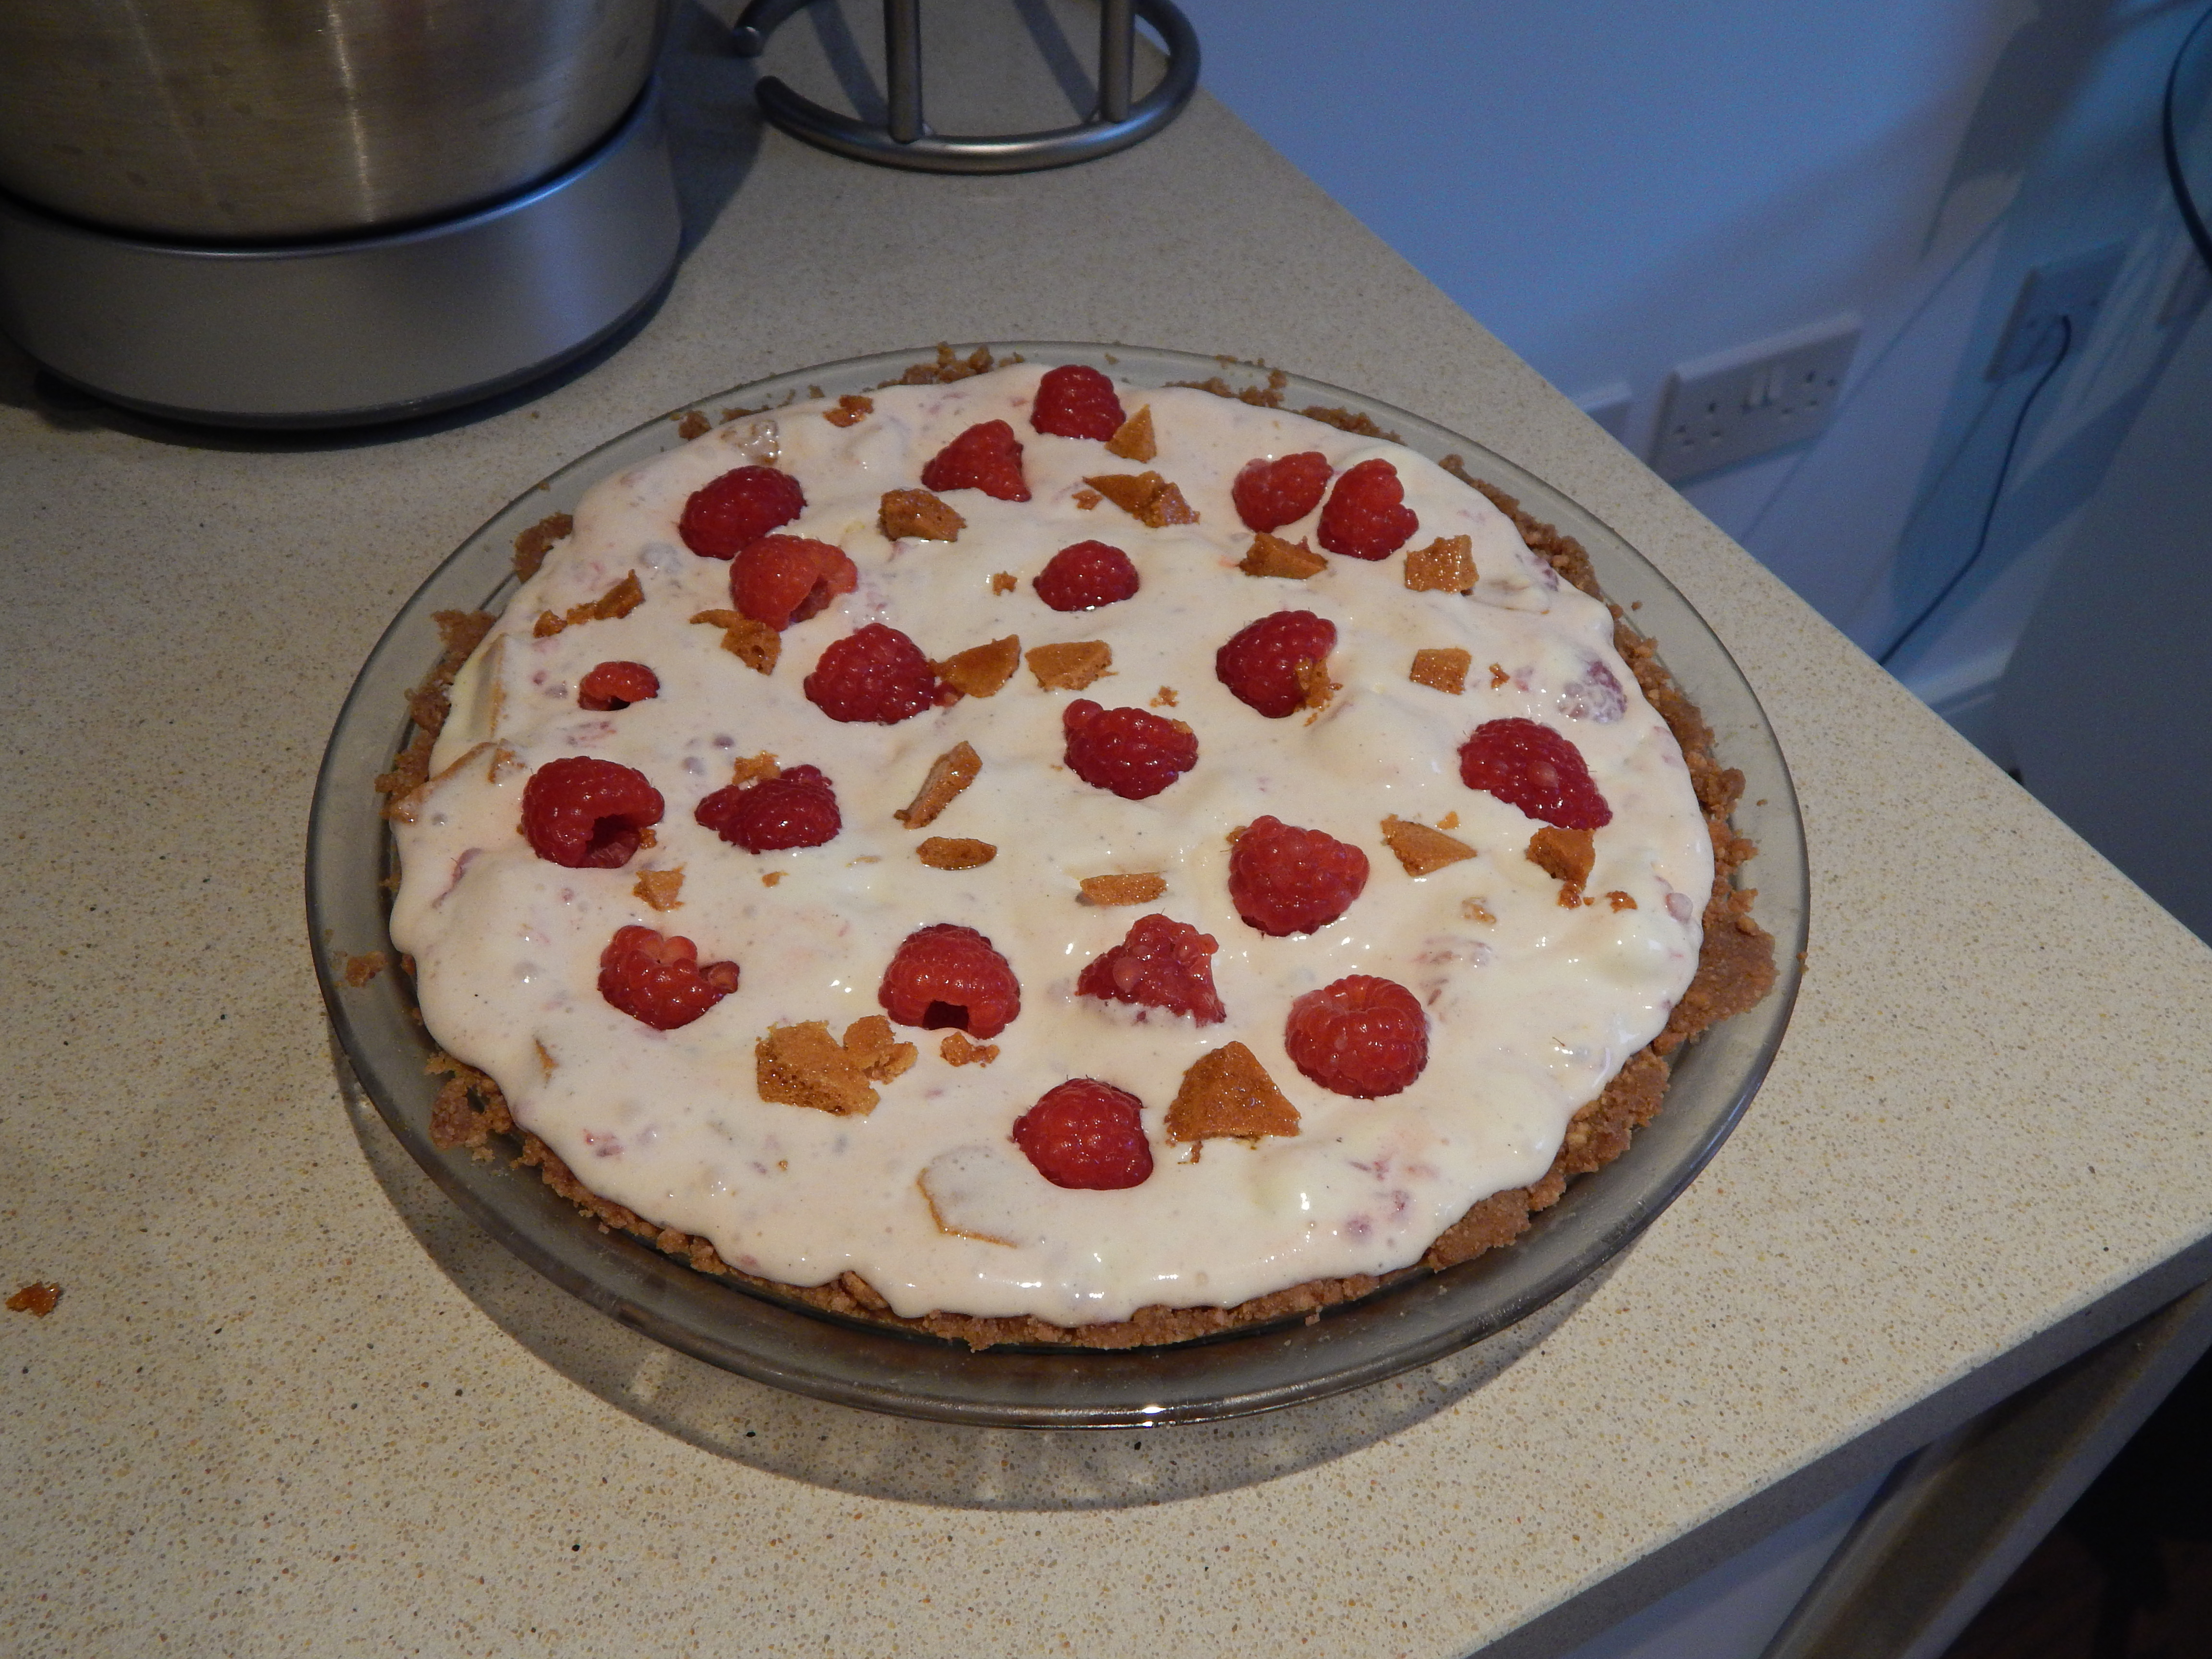
10. Remove the crust from the fridge. Add in the ice cream mixture and smooth the edges.
11. Top the ice cream with the reserved raspberries and some shards for honeycomb. You won’t use all the honeycomb, leave the rest for a snack later!
12. Freeze for 4 hours or until frozen solid.
13. When you’re ready to eat it, let it soften just a tiny beat so it is easier to cut. Serve and enjoy!
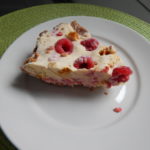
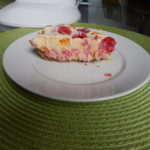

 Messy level: This is a two spoon recipe. Putting together the pie is really easy and barely messy. It is just making the crust that is messy. The honeycomb is the messy part because it is sticky, bubbles up, and then cools quickly. If you make the honeycomb yourself put the saucepan in the sink to soak IMMEDIATELY. It will be so much harder to clean if you don’t do that!
The post Raspberry Honeycomb Ice Cream Pie appeared first on Cooking is Messy.
]]>The post Flan appeared first on Cooking is Messy.
]]>Happy Three Kings Day! If you’re not familiar with Three Kings Day, it’s also called the Epiphany and you can read about it here. To summarize though, Three Kings Day is the 12th day of Christmas and it’s when the three kings (or wise men) found Jesus and brought him the gold, frankincense, and myrrh. It’s a holiday celebrated by lots of different cultures, especially in Latin America.
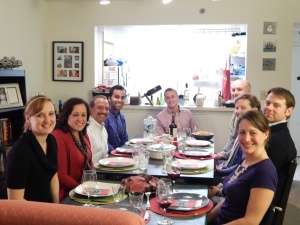 To celebrate this year, I decided to have a dinner party for 10 people in our tiny apartment. I invited three of my former coworkers, their significant others, my parents, and my brother. It was a tight fit (Charlotte and Craig had to bring chairs and a table), it was a little hot (I had to open the sliding door), and we used every single dish we own – but it was a blast and I’m so glad to have thrown a little party to catch up with friends and family.
And boy did we cook up a storm! In truth, Ryan and my mom did most of the fancy cooking. Together we made sangria, coquito (a coconut drink I’ll post about later), green beans, arroz con gandules, a beautiful beef tenderloin, cheesecake, and of course, flan. It was a big meal and pretty delicious. Most importantly, it was fun. It was wonderful having my friends together, and laughing, and chatting. It was a wonderful way to start the new year and celebrate the holiday.
My only regret, is that I took very few pictures. Sigh. I had fancy napkins, red and green place mats, a pretty Christmas tree, and gorgeous food. Seriously, Ryan made a beautiful 5.5 pound beef tenderloin and it was so tender and lovely. The only picture I have is when you see it on the table in the group shot, and the picture I took of my plate when I was 90% finished eating. I wish I had more photos of everything and everyone.
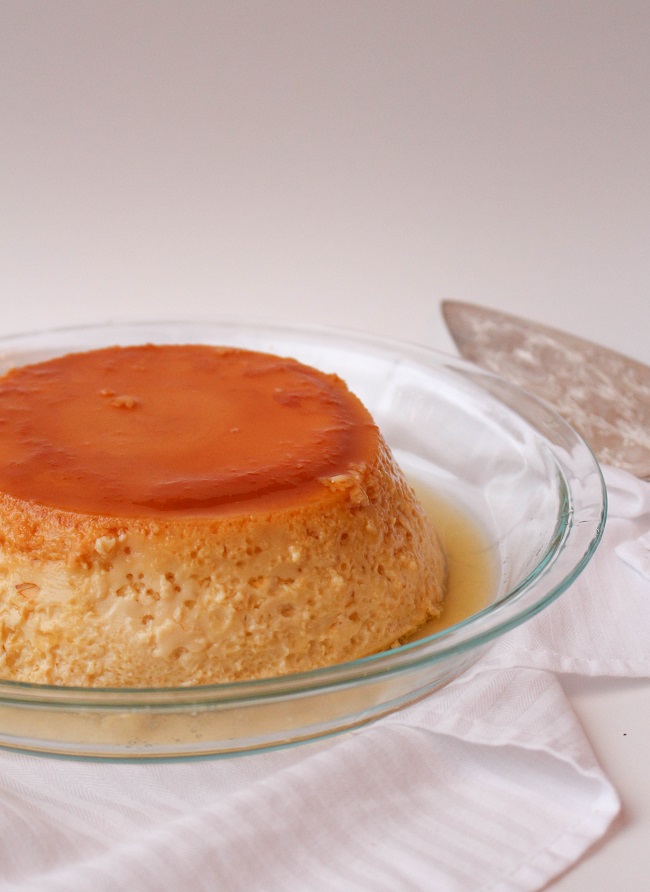
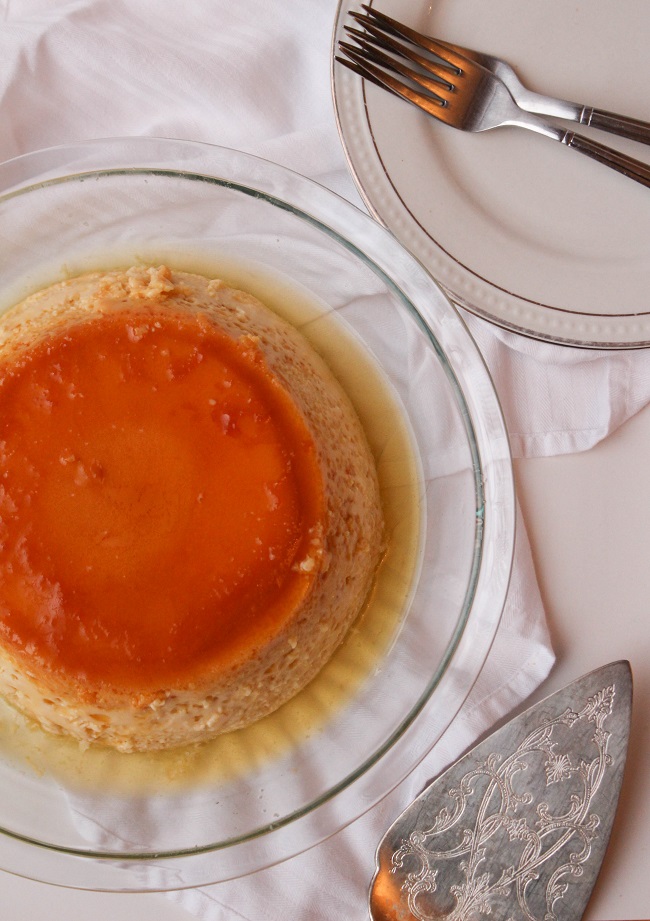
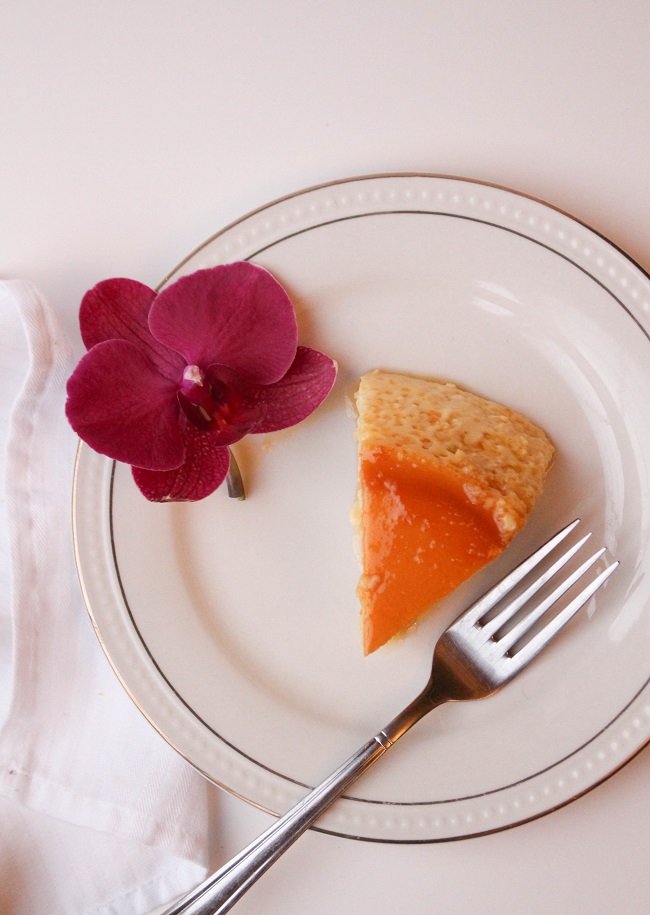
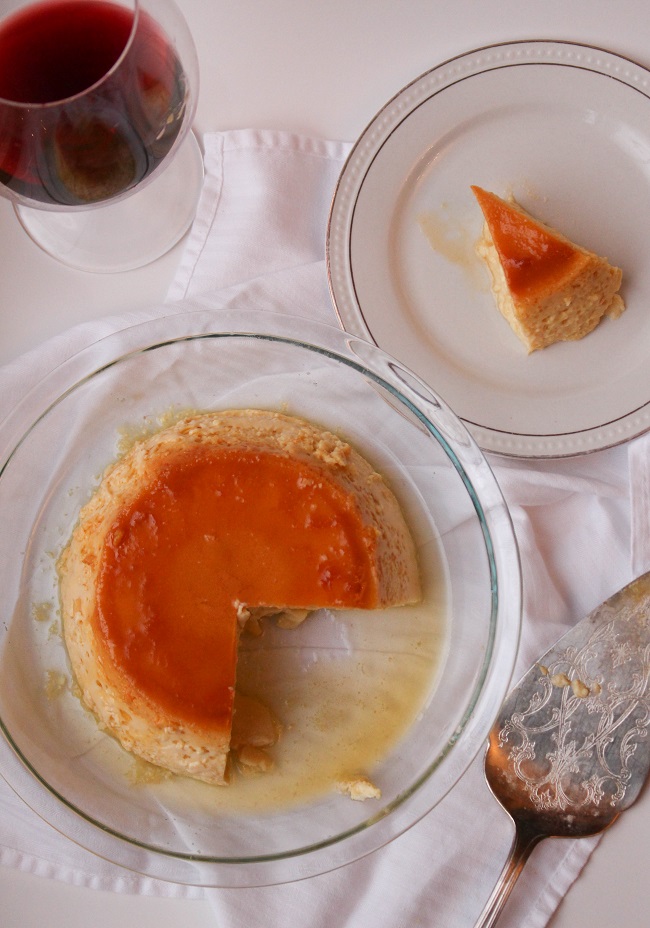
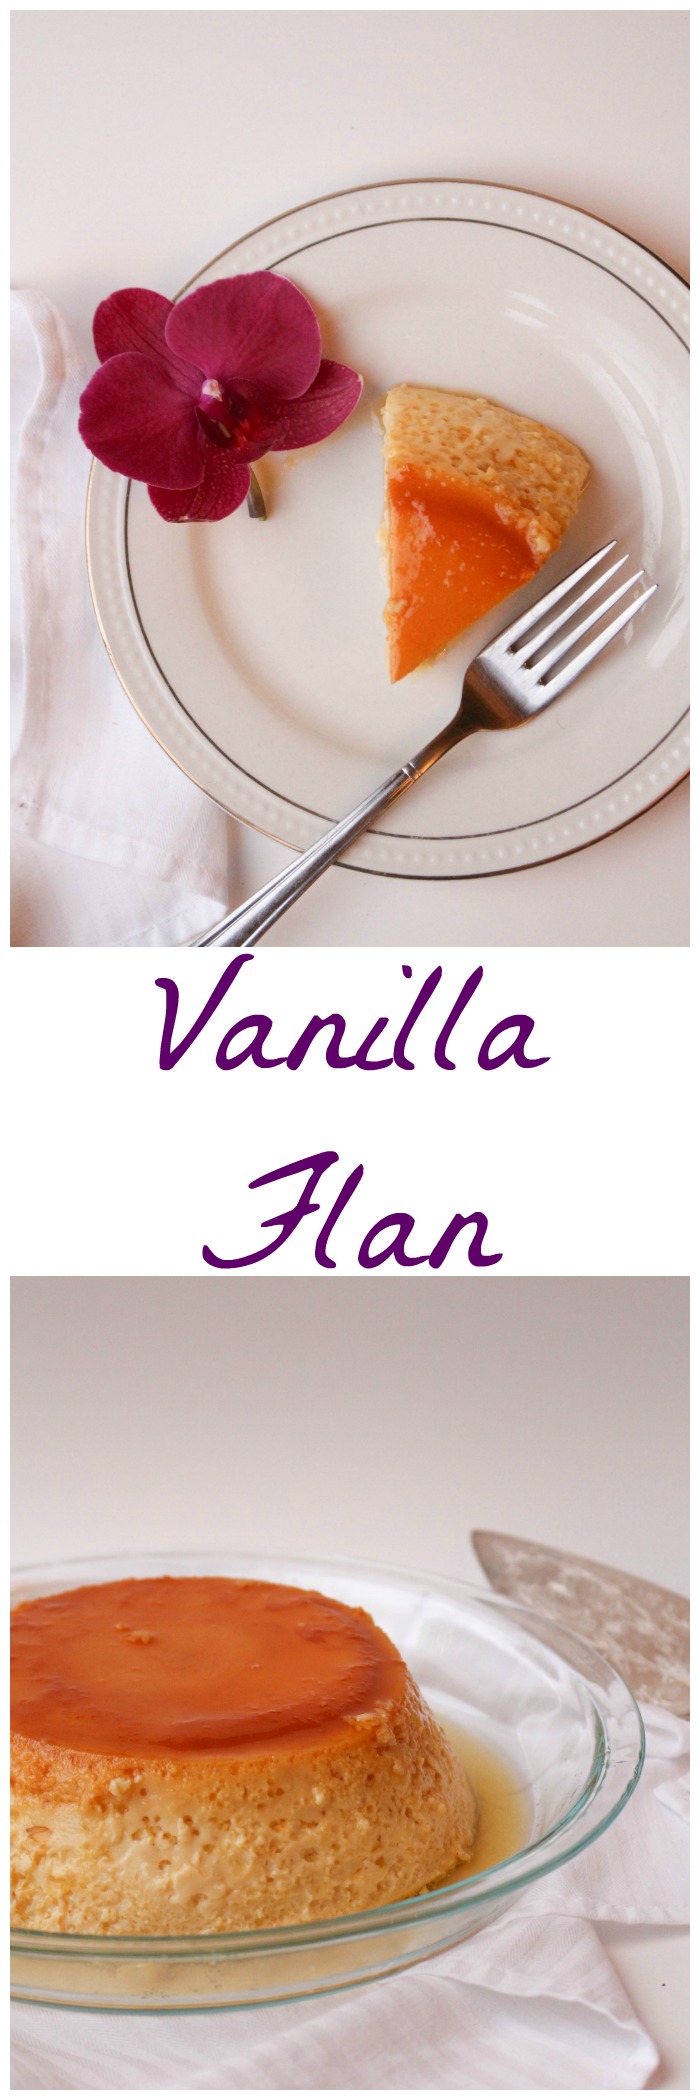
For today’s post, I wanted to highlight my mom’s flan. If you’re not familiar with flan, it’s similar in flavor to a creme brulee but instead of a hard sugar topping, it has a gooey caramel topping. It’s a custard that’s sweet, silky, and a bit jiggly. In my mind, this is one of those “magic” recipes that seems hard to figure out. In part this is because her recipe is a stained and ripped piece of paper, there aren’t any instructions, and it is just a list of ingredients and their respective portions.
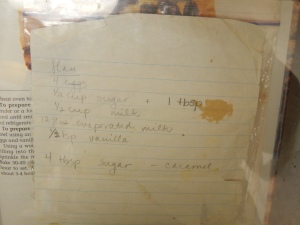 I also think it’s hard because in middle school my friend Lisa and I made one for Spanish class and we burnt it and didn’t even know it until we tasted it. But, upon watching my mom make this recipe, I’ve decided it is really about patience and confidence. You have to trust your eye and you can’t rush because this takes hours to make well.
Anyway, the work is worth it because it was a big hit. My friend Ashley was skeptical that she would like it, but then after a bite she let out a gleeful, “Ooo, I like flan!” And Craig was the “flan man” and served everyone’s portion with gusto. There was none left at the end of the night. So, I know that holidays are over and you might not have much use for another dessert recipe, but I think you should consider giving this one a try. It will change what you think about flan.
Note: Scroll all the way down for printer friendly, more condensed recipe without photos.
Ingredients:
Double boiler
4 eggs
1/2 cup + 1 tbsp sugar
1/2 cup milk (you can use any kind of milk as long as it’s cow’s milk, soy milk does not work)
12oz can evaporated milk
1/2 tsp vanilla
4 tbsp sugar
Directions:
1. Fill the bottom of the double boiler with water. You want the water to be just at the level of the bottom of top of the double boiler (when the two pieces are fitted together). You don’t want the water to be too high, otherwise when you’re cooking steam can get trapped in the flan and ruin it. Heat the water on medium until it comes to a gentle boil.
2. In blender, mix the eggs, sugar (1 cup+1 tbsp), vanilla, evaporated milk, and milk.
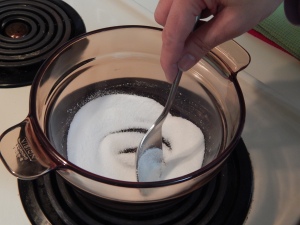
3. On another burner, heat 4 tbsp of sugar in the top of the double boiler. This is how you’re making the caramel topping.
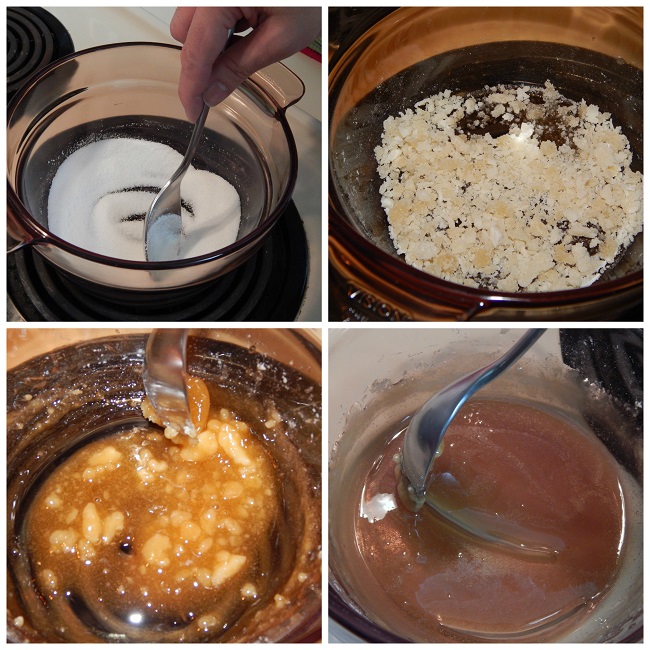
4. Stir the sugar regularly. You don’t have to stir it constantly and aggressively, but you need to stir it regularly so it doesn’t burn. Watch the sugar carefully, if it bubbles then you’ll need to start over. Ultimately you want to make a caramel that is light golden brown, not dark. This process can take about 20 minutes. I tell you this so you don’t worry if it’s taking a long time, but don’t wait 20 minutes if the caramel is looking pretty earlier.
4a. So, as you’re stirring, the sugar will start to get clumpy. Use your spoon to squish the clumps. Then it will start to turn light brown. Then it will glisten and liquefy. It will smell like a candy apple. If you feel it’s going too fast, lower the heat. Or, remove it from the heat, stir, and then put it back on the burner. Ultimately you will have a gorgeous caramel sauce. It’s done when it’s beautiful brown and a dragging spoon leaves a trail behind it. How the sugar transforms is amazing. Cooking and science are amazing.
5. When it’s done, take the caramel off the heat. Let it sit for a minute or two to thicken.
6. Pulse the custard mixture you have in the blender just to mix it up again.
7. Scoop 1/4 cup of the custard mixture. Put the cup against the side of the double boiler, and slowly, slowly pour the custard on top of the caramel. It will slowly seep out of the cup, down the side, and cover the caramel. Do this again for a second and third time. You’re doing this so that the caramel stays a topping and doesn’t leak into the custard layer.
8. After the second and third time, you can poor a little more quickly. But, still pour it gently against the side of the bowl. Don’t just plop it on!
9. Put the top of the double boiler on top of the bottom of the double boiler (over the bubbling water). If the water starts to bubble too fast, then lower the heat. The middle picture is bubbling too fast, the third picture is slower and gentler.
10. Let it cook until the custard sets and doesn’t wiggle much. To check this you remove the lid of the double boiler, and shake it gently. To get to the finished product takes a LONG time. About 1.5- 3 hours, but maybe more. As you cook, the water will evaporate. When it gets to 1/2 inch of water, add some more hot water and keep cooking.
11. Let cool for one hour.
12. Put it in the fridge until you’re ready to serve.
13. Take a pie plate. Put it over the flan and quickly and smoothly flip it. The flan will drop out onto the pie plate and be ready to serve. Take a spoon and scoop out any caramel left in the double boiler. Spoon that over the flan.
14. Serve and enjoy!
 Messy level: This isn’t too crazy messy, but I think it deserves a three spoon rating. You have to use a blender, double boiler, and pie plate, so there’s a lot of dishes in the end. What’s good though, is that you have lots of time between steps so you can clean as you go and you aren’t left with a big pile at the end.
- 4 eggs
- ½ cup + 1 tablespoon/ 112 grams sugar
- ½ cup/ 120 ml whole milk (any cow's milk will work, soy won't!)
- 12oz/ 340 gram can evaporated milk
- ½ teaspoon vanilla
- 4 tbsp/ 50 grams sugar
- Fill the bottom of the double boiler with water. You want the water to be just at the level of the bottom of top of the double boiler (when the two pieces are fitted together). Heat the water on medium until it comes to a gentle boil. Let it gently boil while you do other steps.
- In a blender combine the eggs, sugar, milk, evaporated milk, and vanilla. Set aside.
- On another burner over low heat, heat the 4 tablespoons of sugar (for the caramel) in the top of the double boiler. Stir constantly!
- Watch the sugar carefully so it does not come to a boil. The sugar will turn from white granules, to small rocks, to smooth liquid. When you have only 1-2 small tiny clumps but mostly liquid remove the heat. Continue stirring for another 30-60 second until you feel it thicken slightly and a spoon dragged through will leave a bit of trail.
- Quickly re-blend the custard in the blender.
- Using a ¼ measuring cup, fill it with custard. Press the cup against the side of your double boiler that has the caramel. Slowly pour the custard over the caramel. Going this slow means the custard will sit atop the caramel and not mix in.
- Once the caramel is totally covered in a layer of custard you can start to pour faster. You can either continue with the measuring cup or you can lean the lip of the blender on the edge of the double boiler and slowly pour. Whatever you do, don't just plop the custard on!
- Once the custard as been completely added, put the top of the boiler over the bottom with the boiling water. Cover with the lid.
- Watch the water. If it's bubbling too fast lower the heat. You want it to be a continuous boil but not aggressive and bopping.
- Cook until the flan wobbles slightly (like jello) when you gently shake the pan. This can take between 1.5 and 3 hours. Depends on the amount of water you have and how high the heat is. Check on the flan every 30-45 minutes. Check it by gently shaking the pan to test the wobble. Check it also by making sure you have at least ½ inch of water.
- When finished cooking, remove the lid and the bottom of the double boiler. Let cool for 30 minutes at room temperature. Wipe the lid dry so condensation won't ruin the flan.
- Cover the flan with the lid and put in the fridge for at least one hour, but ideally until you're ready to serve.
- Remove the lid, put a plate or pie plate over the double boiler. Holding them both firmly, quickly flip the double boiler over so the flan will fall out onto the plate.
- Spoon out any caramel left behind in the double boiler.
- Slice and serve
The post Flan appeared first on Cooking is Messy.
]]>