The post Bison Nachos appeared first on Cooking is Messy.
]]>
One of the things I wanted to eat while in the US was nachos. You might be thinking to yourself, “Mariel, they have to have good nachos somewhere in the UK.” And they probably do, but I was burned – and burned bad. So I’ve only had nachos once in London and didn’t want to risk it again.
Here’s what happened: Ryan and I went to a pub to watch the Arsenal match. We had a few pints and started to feel hungry and we thought, “What kind of bar food do we want? Oh, nachos sounds good!” So we ordered them, not thinking about where we were. Because in the US you can have satisfying nachos pretty much anywhere.
When our plate arrived there were some chips, a smattering of cheese, and big dollops of sour cream and watery salsa. No meat, no beans, no veg, no gooey-ness. I mean, we ate it of course, but I was disappointed. Since then I’ve stuck to homemade nachos.
In Colorado, Katy (my sister-in-law) suggested we make nachos for when we watched the Broncos football game. Boden was our adorable little helper who let us dress him as a football. Isn’t he freaking cute? I made a photo of him the background on my phone and it makes me so happy! Ok but I’m digressing, let’s get back to nachos.
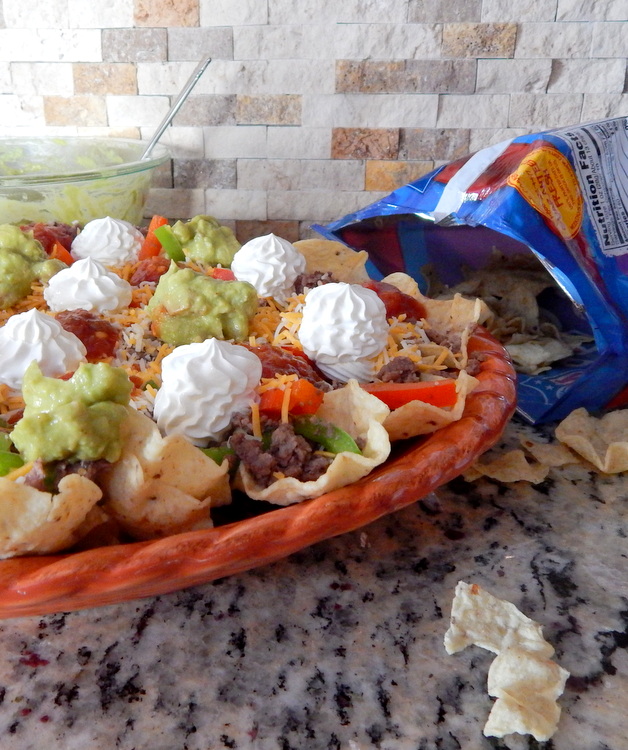
So the thing is, you don’t really need a recipe for nachos because there’s plenty of room for improvisation. We used bison meat which I’d never cooked before this! It’s leaner than beef and has a really delicious flavor. We didn’t add much to it in terms of seasoning, but it was so flavorful! I know you can get bison meat all over the United States, but being at the edge of Plains and having bison meat somehow felt authentically Colorado. Maybe it’s not authentically Colorado, but that’s how it felt. Anyway, instead of bison, you can use ground beef or turkey, sliced chicken breasts, or beans. In fact, go bigger and make a combo and use both meat and beans!
You can also make nachos really homemade or somewhere in between. We bought jarred salsa but we made guacamole. However, instead of chopping up tomatoes, onions, cilantro and jalapenos we bought pre-made pico de gallo. You can find pico de gallo in the refrigerated section on the produce department. Or, if you want to make your own here’s a recipe from the Pioneer Woman. So find your perfect balance and make what you want or buy what you want.
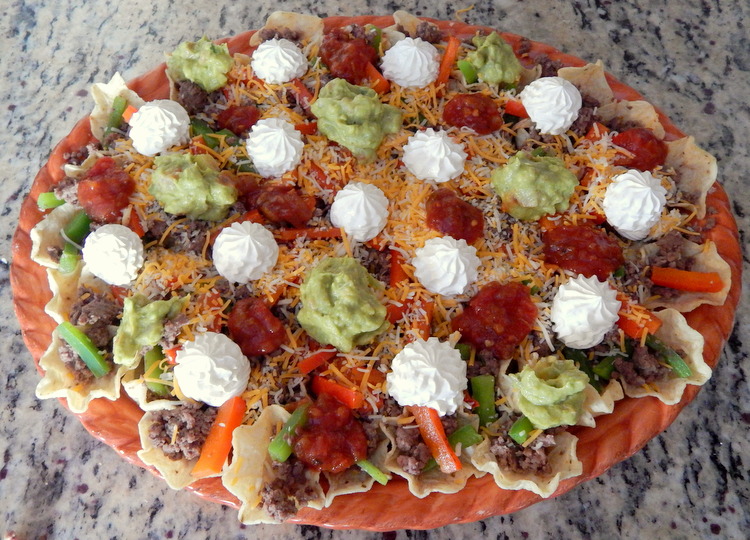
The key to good nachos is layering. Katy’s secret to good nachos is two layers of cheese. First, a layer of chips, then cheese, then meat, then toppings, then cheese, then salsas. Double cheese layers add extra deliciousness and work as a glue to hold all your nachos fillings together. Genius right?
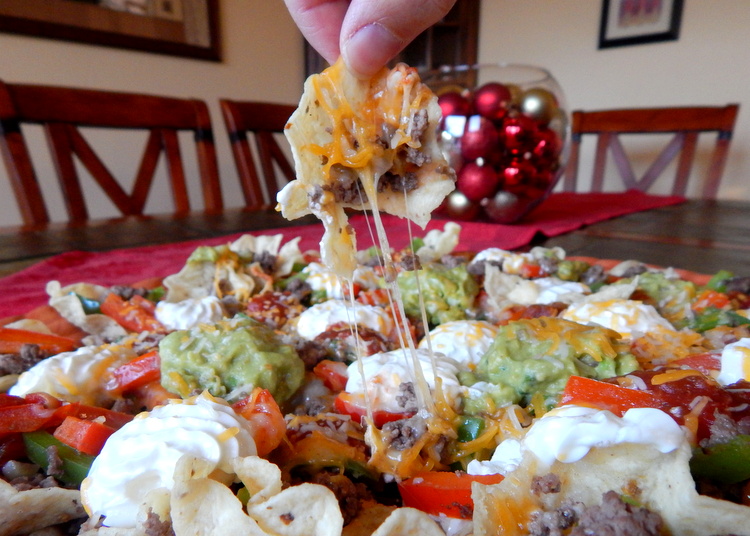 Last thing, Katy is responsible for the beautiful sour cream piping. Those clouds of sour cream are gorgeous! What’s great about nachos is you can make them your own, and so we decided to make them beautiful.(I alternated in the spoonfuls of guac and salsa) But, it needs to be said that I am so impressed with Katy’s piping as I’m terrible with a piping bag. We decided we would be a perfect team in a bakery – I prefer the baking and she prefers the decorating. Win-win baby. Anyway, presentation is important to making tasty food look even more desirable so artfully dollop on your salsas and once you serve people will be dying to dig in.
 Messy level: One spoon. Nachos are so easy! For preparation we only needed one skillet and a bowl to make the guacamole. Everything else just gets layers on the main serving platter. Easy and clean – that is until you start eating.
- olive oil
- 1 pound ground bison meat (or substitute ground beef or turkey)
- 2 cloves garlic, finely chopped
- 1 red bell pepper, cut into thick matchsticks
- 1 green bell pepper, cut into thick matchsticks
- 2-3 ripe avocados
- 1 cup pico de gallo
- 1 lime, sliced in half
- salt
- 1 tsp garlic powder
- ¼ tsp chili powder
- 1 bag of your favorite tortilla chips (we used Scoops)
- 1 cup shredded cheddar cheese (you might not need it all)
- ½ cup salsa
- ½ cup sour cream
- Heat a splash of olive oil in a saucepan over medium heat.
- Once the oil is hot, add the garlic and ground bison. When 75% of the meat is browned add in the bell pepper. I like adding it here to soften the peppers up a bit and give them some more flavor. Remove from the heat once the meat is completely browned. Set to the side.
- Cut the avocado lengthwise around the pit. Now you'll have the avocado broken apart into two halves.
- Using a spoon, scoop out the pit and set it aside.
- Scoop out the avocado flesh into a medium bowl. Using a fork, mash up the avocado until it is smoother but still with some chunks.
- Add the pico de gallo to the avocado. Mix thoroughly.
- Add garlic powder, chili powder, and salt (to your taste) to the avocado mixture. Squeeze half the lime in too. Taste and adjust the seasonings. Add the other half of the lime if you like it, add more garlic and chili powder if you want more "pop." Now you've got guacamole. Add the avocado pits back in to the guacamole. This keeps it from getting immediately brown.
- Arrange the tortilla chips onto a large serving tray.
- Sprinkle half the shredded cheese over the chips.
- Spoon the ground bison and bell pepper mixture evenly over the cheese.
- Sprinkle the other half of the cheese over the meat.
- Put the serving tray in the microwave and heat on high for 1 minute at a time, until the cheese is melted.
- Artfully dollop the sour cream, salsa, and guacamole evenly on top of the cheese.
- If you have more cheese left over, sprinkle a little more on top.
- Serve while hot and gooey!
The post Bison Nachos appeared first on Cooking is Messy.
]]>The post Teriyaki Chickpeas and Rice appeared first on Cooking is Messy.
]]>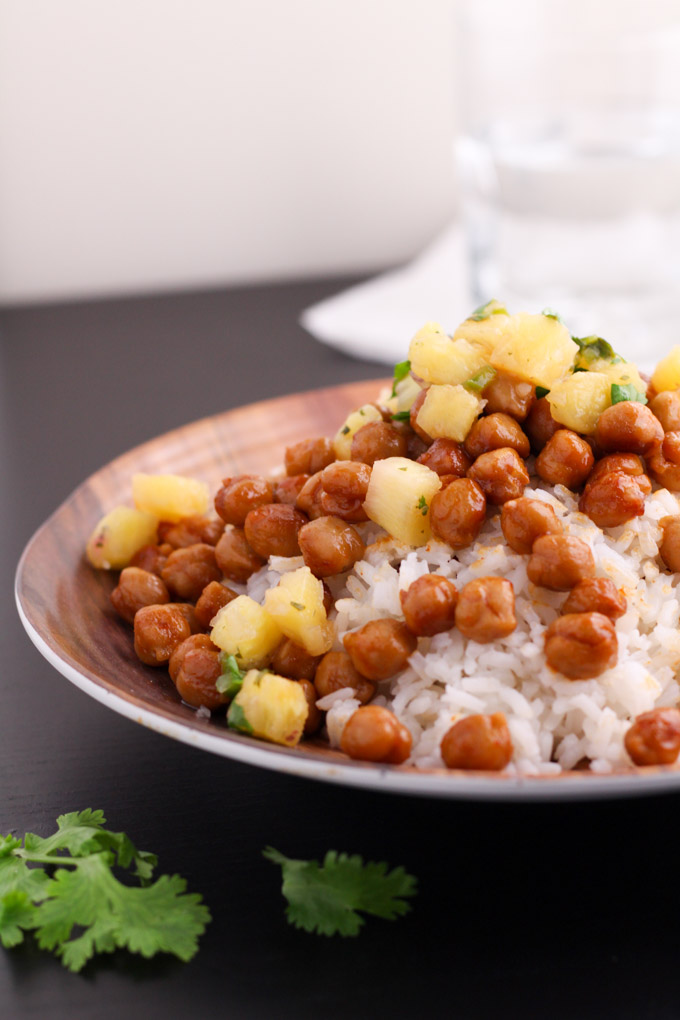
This recipe might be the easiest and cheapest recipe I’ve ever posted. There are a couple of “flair” ingredients in the recipe, but it would be good if all you had was a bag of rice, a can of chickpeas, and bottle of teriyaki sauce. Those ingredients don’t cost much and you might already have them in the pantry. What could be simpler?
Also, I think this is a great meal to make if you’re only cooking for yourself. Is that a weird thing to say, that this is a good dish for one? Maybe…
However, when I lived alone I was always looking for recipes that didn’t make a billion servings. I didn’t like cooking that much then because I’d make eating that same meal for lunch and dinner for the next 4 days. It can get old. But this dish, is perfect for 2-3 meals. It’s perfect if you want to whip up something quick, small, and tasty.
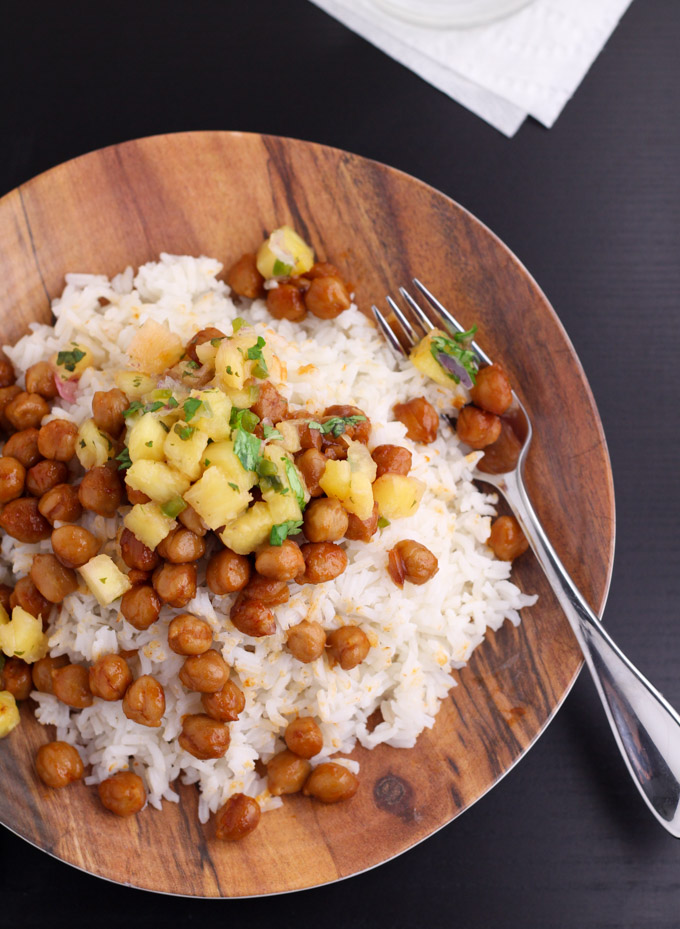
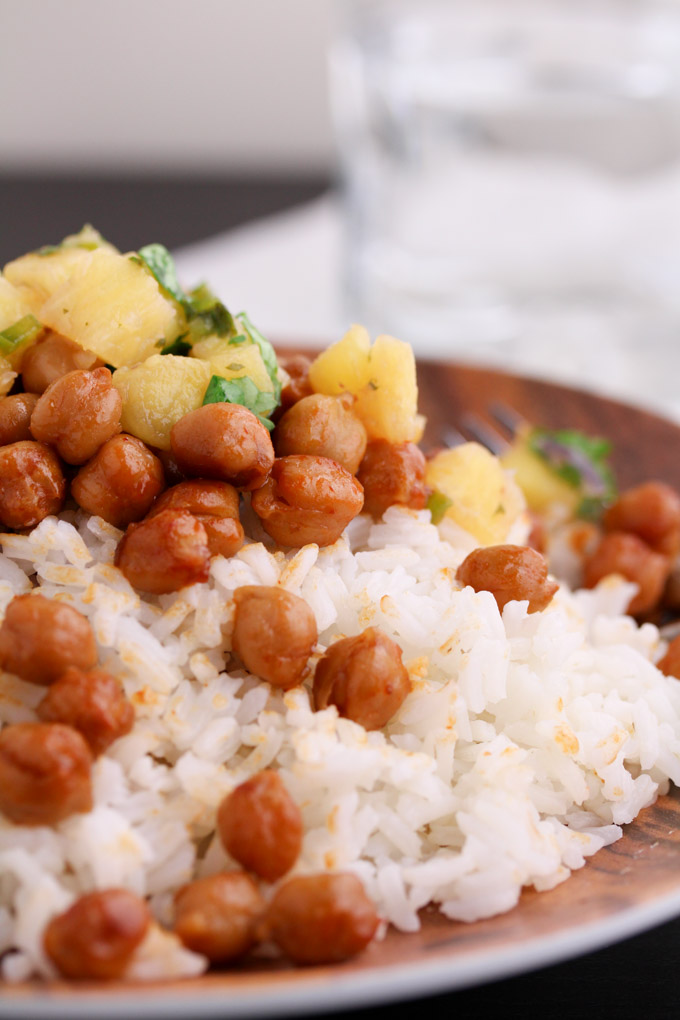
While I stand by my original statement that this is good plain, it’s super delicious topped with pineapple salsa. It adds a little sweetness from the pineapple and some great zest fro the onions and cilantro. Yes, making the salsa is a little more chopping and prepping, but it’s tasty and beautiful.
The recipe is adapted from the a great cookbook called The Happy Herbivore. It’s a vegan cookbook, but really accessible for people who like vegetable based meals, but don’t actually want to be vegan.
 Messy level: This is one spoon! You cook everything in two pots, there’s so little chopping, and it’s just so darn easy!!
- 1 15oz can of chickpeas, drained and rinsed
- ⅓ cup teriyaki sauce (or more if you like!)
- 1 tbsp hot sauce
- ½ tbsp raw sugar (just swipe 2 packets from your local coffee shop)
- 2 cups water
- 1 cup uncooked white or brown rice
- ½ cup chopped pineapple
- 2 tablespoon chopped red onion
- 1 tablespoon chopped cilantro
- lime juice (from about ½ a lime)
- In a large skillet, mix together the chickpeas, teriyaki sauce, hot sauce and sugar. Let the chickpeas marinate in the skillet while you get the rice ready.
- In a medium pot, bring the 2 cups of water to a boil.
- Once the water has come to a boil add the rice. Cover the pot and turn to low. Let simmer until the water is absorbed, about 20 minutes. Rice is done when rice is tender and water has cooked off.
- Turn the skillet with the chickpeas to medium. Heat until the chickpeas are cooked enough to our liking, usually about 10-15 minutes. Stir occasionally.
- While everything else is cooking do whatever salsa chopping you need to do in case you didn't do it before you started. Then mix also salsa ingredients together in a bowl.
- Serve the rice in a bowl then top with chickpeas and salsa.
The post Teriyaki Chickpeas and Rice appeared first on Cooking is Messy.
]]>The post Taco Salad appeared first on Cooking is Messy.
]]>
thanks to Charlotte for suggesting I include my learn to cook dude!
This is one of Ryan and my favorite, go-to, weeknight dinner recipes. Ryan loves Mexican flavors. I love rice and beans. It’s a great meal. But even so, I’ve been debating about posting this. I even made a pros and cons list. Here it is:
Cons –
- Creates a lot of dishes and that’s annoying
- Requires some finesse and timing. Lots of things are cooking at the same time, which can be stressful
Pros –
- Takes less than 45 minutes to make everything
- Tasty and filling
- It’s easy to make a lot, so it’s great for guests or if you want some to take for lunch
- There’s lots of options for making this even faster or even more homemade (more on that below)
- There’s lots of options for adding all the toppings and add-on foods that you like
So the pros outweigh the cons, which means you all get a nice recipe. Before we get started let me tell you about some of the options to amp up or amp down this recipe.
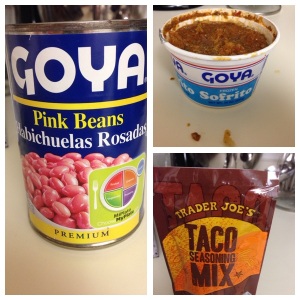 I use canned beans, frozen sofrito, and a taco seasoning packet. I prefer using these products because they still taste great and they decrease my prep time. Specifically, I liked Goya pink beans or any brand’s pinto beans. But of course you could use black beans, re-fried beans, or whatever kind of beans you like. If you don’t like canned beans, by all means use dried beans. People tell me they are much better, but I grew up often eating canned beans so I like them just fine.
You can also make your own sofrito. If you’re not familiar, it’s a tomato based seasoning blend. I prefer not to make it because it requires a lot of ingredients, some of which can be hard to find. If you are so inclined, a recipe I like is from Wilo Benet’s book Puerto Rico True Flavors. You can also do some Googling, and find a recipe you like. But the Goya frozen sofrito is great because it’s such a big tub and it keeps for a long time.
Finally, I buy taco seasoning packets. Again, it’s because taco seasoning is made up of a lot of ingredients and not all of which are already in my spice cabinet. However, when I’ve found myself without a seasoning packet, I’ve used this recipe.
Now, for the rice. I’m going to give you the recipe for making rice on the stove. I don’t have a rice cooker so I don’t know how that works, but go ahead and use it if you have it. If you really want to save yourself time, go ahead and use Uncle Ben’s 90 second rice – but I’ll be judging you a little bit. And I’ll be judging only because I think you should try stove making rice before you go to prepared rice. I’ve totally had Uncle Ben’s 90 second rice (sorry Mom), but the bag doesn’t make much and it’s not cost effective. I like making rice myself because it’s largely passive cooking, it makes a ton, and it’s cheap. Seriously a 2 pound bag of rice cost about $2 and will last a long time.
Just a few more notes and we’ll get to cooking. I never use tortillas when Ryan and I make taco salad. This is largely because I feel guilty about waste. I buy a bag of tortillas, we use about 6 and then they go stale and I feel bad about throwing them away. Usually Ryan and I make a taco salad heap and then use chips to scoop up the food. Feel free to use taco shells, tortillas, chips, or just a fork. Make it your own.
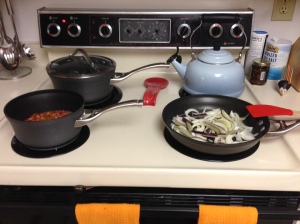
You’ll have three things going at once. I like rice on the back burner and beans and veggies/meat on the front two. This way, when you stir, you aren’t reaching over anything.
And the last thing about “make it your own,” is that this meal allows for you to put whatever you like on top of it. We usually add at least cheese and salsa, but there’s so many more options and I’ll list some below.
That’s enough background, let’s get to cooking. With this recipe you’ll be cooking 3 things. The directions will be all together, and I’m doing this because it should allow you get all 3 dishes finished at the same time. And that’s what you want because then you can serve everything hot.
Ingredients you don’t have to cook and can use as toppings:
salsa
chopped tomatoes
shredded cheese
sour cream
lettuce
guacamole
Ingredients (for the cooking-part):
1 cup long grain white rice (you can also use other types of rice if you prefer)
2 cups water
1 tbsp butter
1 medium onion
1 can Goya pink beans
1/4 cup Goya frozen sofrito
1-2 bell peppers (any color you like)
1 tbsp and 1 tsp (or 4 tsp) taco seasoning
1 lb ground turkey (or beef if you prefer)
Directions:
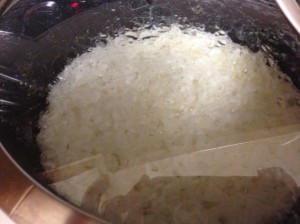
1. Start with the rice. I recommend following the package instructions, but I’ll also give you my instructions. Use a back burner, this is important because you need 2 other burners and the rice will be largely left alone so it shouldn’t be in the front. Anyway, add 1 cup of rice, 2 cups of water, and 1 tbsp of butter to a medium pot. Bring the water to a boil. Once it’s boiling, turn the heat to low. Cover the pot and simmer until the water is absorbed, about 20 minutes. I recommend you set a timer for 20 minutes and use it to help you synchronize the rest of your cooking. Below is the rice mid-cook.
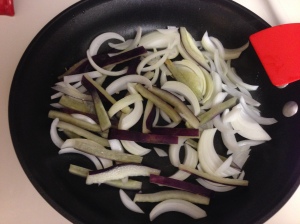
2. While you’re waiting for the rice. Chop the bell pepper and onion in strips.
3. When you have about 15 minutes left on your rice timer, heat a large pan (on a front burner) on medium. Once it gets hot enough, saute your onions and pepper strips until they are browned and soft. This takes about 5-7 minutes.
4. At about 12 minutes left on your rice timer, put the beans (and the liquid in the can) in a small pot. Add the sofrito. (Note: if you’re using frozen sofrito, microwave the tub for 30 seconds and then scrape out 1/4 cup. It’s not serious if you have more or less). Simmer the beans on medium for about 10 minutes. Stir occasionally. Beans are done when they are tender and hot throughout.
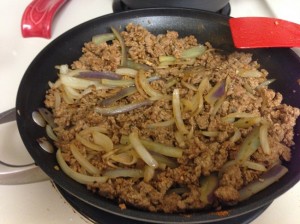
5. Ok, once your peppers and onions are soft, remove them from the pan and set aside. You should have about 8-10 minutes left on your rice timer. Add the ground turkey to the hot pan. Stir in the taco seasoning. Cook until the meat isn’t pink. This takes about 5-7 minutes. Stir the onions and peppers back in. (Note: You don’t have to mix the onions and peppers in with the meat, but I like to because it ensures we eat our vegetables).
6. Put a paper towel on a plate. Pour the cooked ground turkey on the paper towel plate and let the grease drain.
7. Your timer should be going off! Check the rice! Take off the lid, use a fork and push aside the rice so you can see the bottom of the pan. Is there water? The rice isn’t done. Is it dry and does the rice look fluffy? Then it’s done! Fluff it up and serve. (Note: Technically you shouldn’t open the lid while you’re cooking rice but if you’re new to this, I suggest checking on the rice maybe 5-7 minutes before it’s supposed to be done. This will help you gauge if the rice is cooking too fast (the water is already gone) or if there is some water left then things are going well).
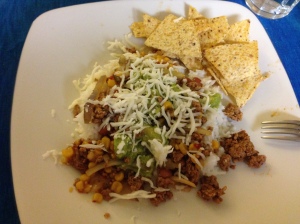
8. Turn off all your burners and you should be ready to serve! I like rice on the bottom, then beans with their juices, then meat, then toppings. But you should plate however you like!
 Messy level – This is a three spoon recipe because of the amount of dishes this makes. You’re going to use 2 pots, 1 pan, a knife, and a cutting board. And if you put all your toppings in serving bowls, you’ve got yourself quite the mess. But, in terms of cooking, this doesn’t make much of a mess. The technique is pretty much heat, stir, serve so there’s no splatter or craziness. I think it’s worth the mess. And Ryan’s my resident dish washer and requests this meal, so the dishes can’t be that bad… right?
This past weekend, Ryan and I had dinner with our friend Shane and his girlfriend, Molly. Shane told me he had been binge-reading my blog. I was so touched, and I told him I’d give him a shout out in my next post. So here it is: Hi Shane!! Thank you for reading my blog!
Want a shout out of your own? Post a comment about something food related and the next shout out could be yours. Tell me about your favorite meal, favorite dish you’ve had on vacation, childhood favorite, a food you’re afraid of, or whatever you want. If I like the post, I’ll give you a shout out.
The post Taco Salad appeared first on Cooking is Messy.
]]>
